Previous page: How to Create a Website
Here’s a quick step-by-step guide for signing up with Bluehost, choosing a web hosting plan and installing WordPress as we head into 2026.
Step 1: Go to Bluehost.com
To sign up with Bluehost, simply go to Bluehost.com
This is what you’ll be greeted with once you get to their homepage.
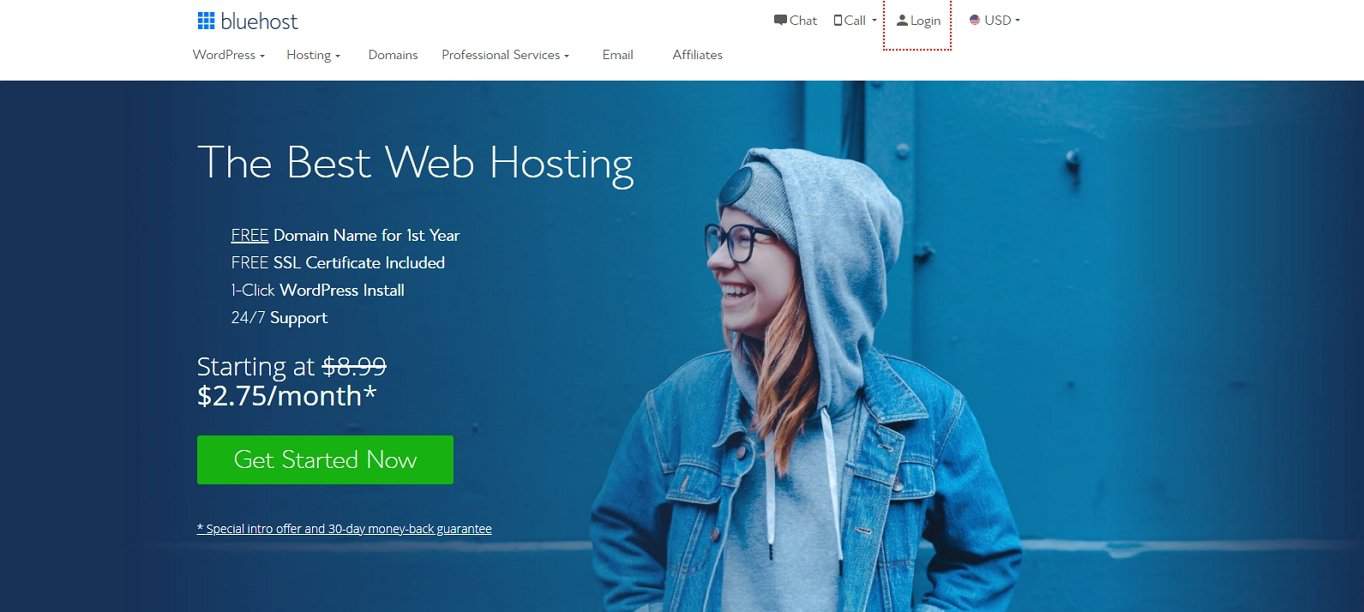
If you like what you see, just click on “Get Started Now” to proceed to step 2:
Step 2: Choose a Hosting Plan
When choosing a hosting plan for 2026, always have your purpose in mind.
Are you building a small personal website as a hobby? A mid to large-sized website for your business? Whatever your purpose is, make sure to choose the hosting plan that offers what you need.
For this guide, we’ll opt for the “Basic” shared hosting plan. The basic plan is a smart choice if you’re just starting and don’t yet have significant traffic to your website. No need to waste your hard-earned money on the other plans for now — you can always upgrade later as your site grows.
Shared hosting (also known as shared server hosting) remains the most common and most affordable form of website hosting in 2025. Through this type of hosting, users share the resources of a secured server or group of servers to get their websites up and running.
By signing up for one of Bluehost’s shared hosting plans, you won’t need to worry about server management and platform patches.
In fact:
Check out Bluehost’s web hosting features if you want a deeper dive into what they offer.
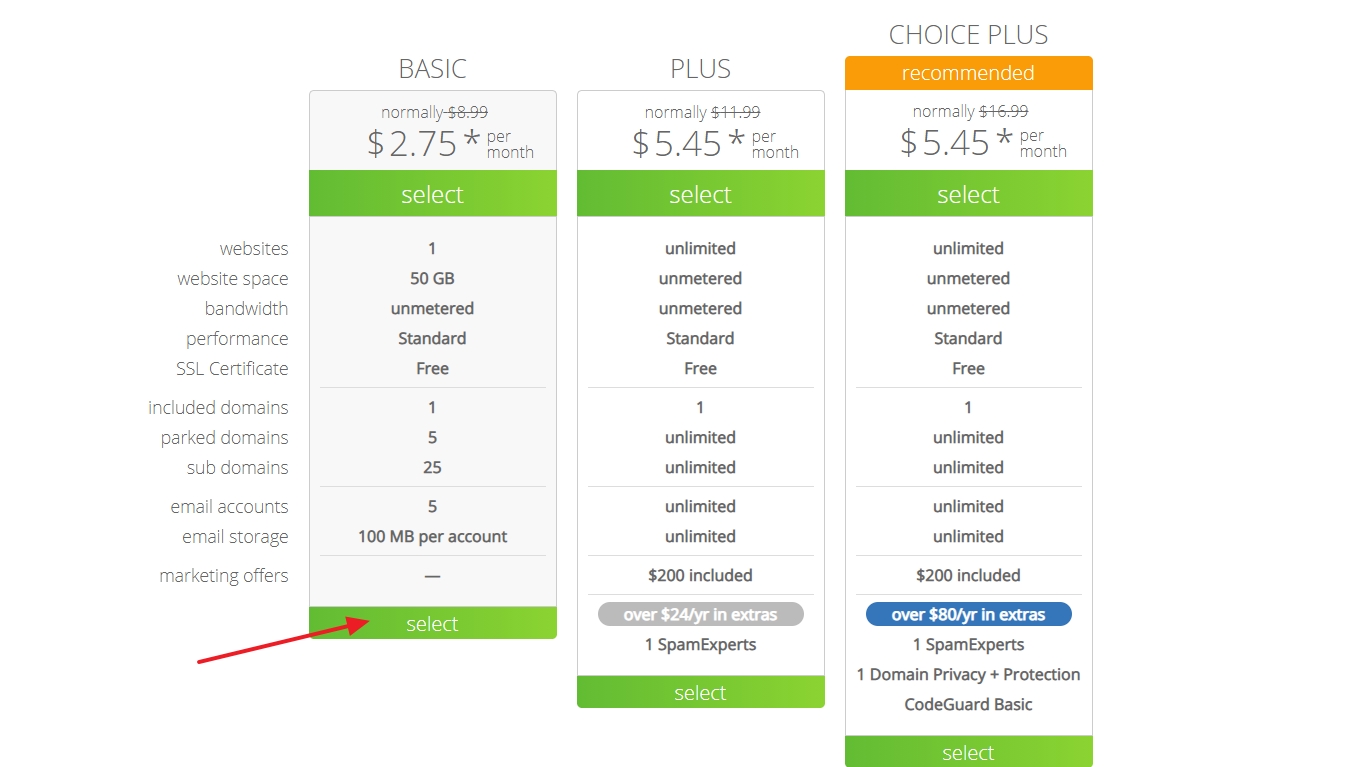 Start with the “basic” plan. You can always upgrade later if you need to.
Step 3: Secure a Domain Name
After choosing your plan, the next step will be to provide your domain name.
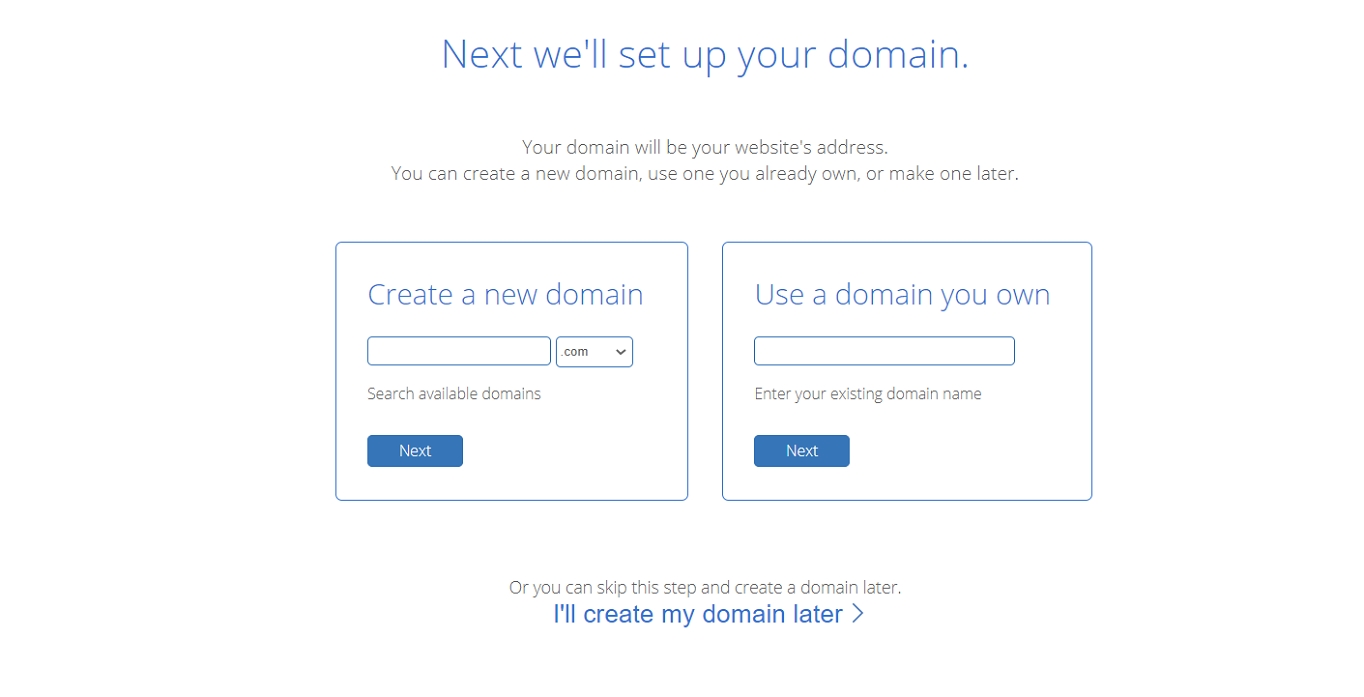 If you’re not sure about the domain name yet, there’s an option to skip this step for now.
Your domain name doesn’t need to end in a “.com”. You can use “.org”, “.net”, “.us”, “.biz”, “.info”, or even newer extensions like “.site”, “.online”, or “.store” for your domain name. This is especially helpful if your first choice isn’t available. Just type in your domain then click “Next”.
If you aren’t ready to enter a domain name, you can always follow these steps on how to assign a domain name if you chose to do it later.
If you already have a domain name, just enter it in the “Use A Domain You Own” form and click “next”.
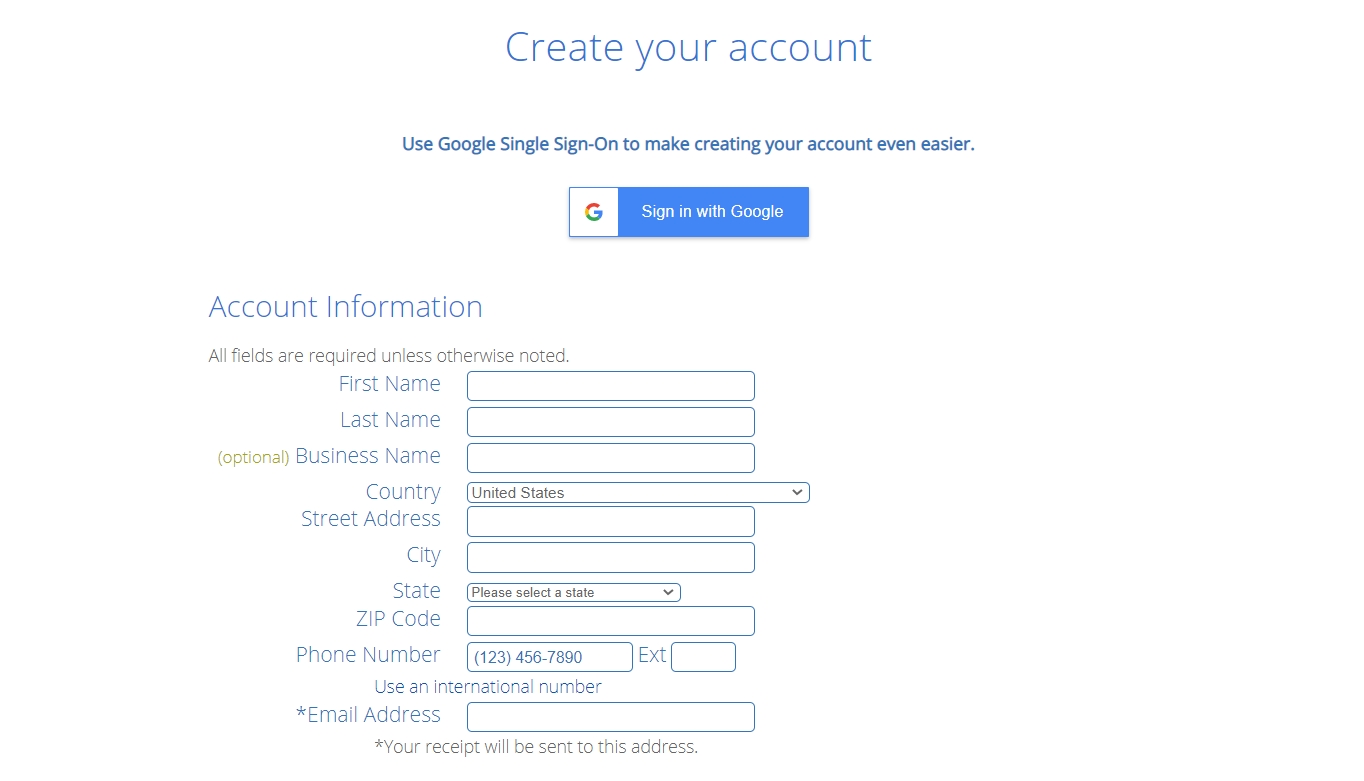
Step 4: Fill in Your Details
The next step is to simply fill in the required information. You’ll need to provide your first name, last name, country, street address, city, zip code, phone number, and email address.
Note that your receipt will be sent to the email address you enter.
Adding your business name is optional.
Step 5: Check Your “Package Information” and Finish the Registration
The next step is to scroll down and check your package information. Make sure to review the add-ons that are included by default. Remember to check only those that you need.
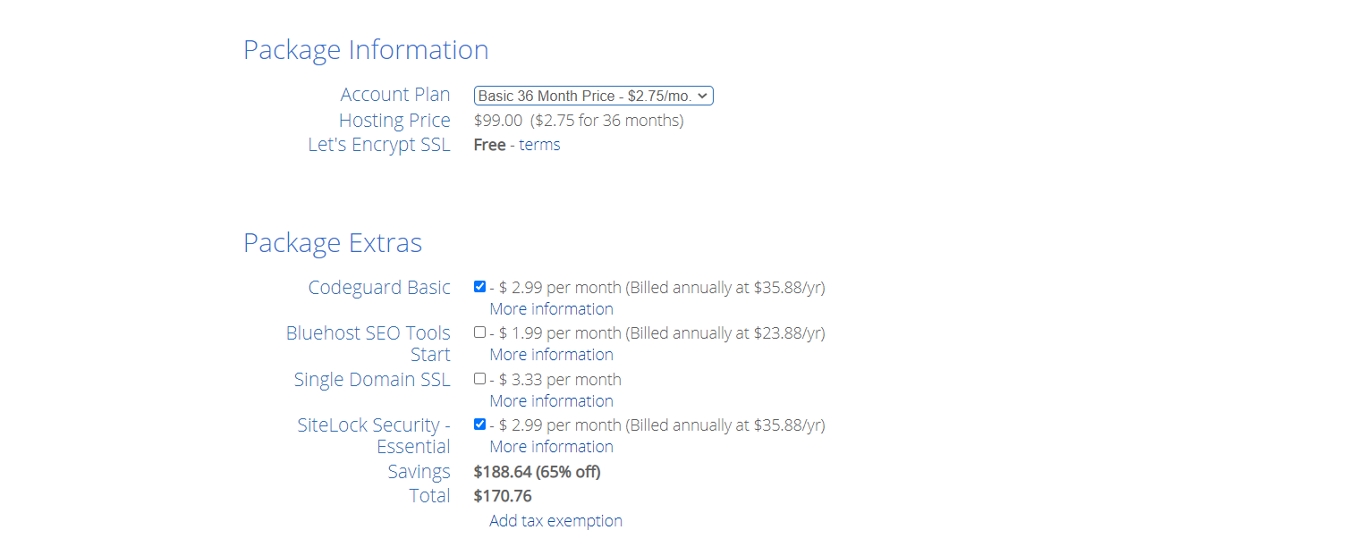 Choose a plan and decide which of the optional add-ons you’ll need (all the options described below).
Here’s what you can consider as of late 2025:
• SiteLock Security Essential: This service typically costs around $3.99-$4.99 per month (billed annually). This add-on verifies your email address, physical address, and phone number. This feature can help prove your credibility to customers if you plan to sell a product or service on your site.
• CodeGuard Basic: This service typically costs around $3.99-$4.99 per month (billed annually). This provides extra security to your website by letting you backup your site regularly. This makes it easy to revert your site to a previous save if anything happens or if you make a mistake.
• Bluehost SEO Tools: This feature typically costs an extra $2.99-$4.99 per month (billed annually). Bluehost claims that this tool can help you improve search engine rankings and visibility heading into 2026.
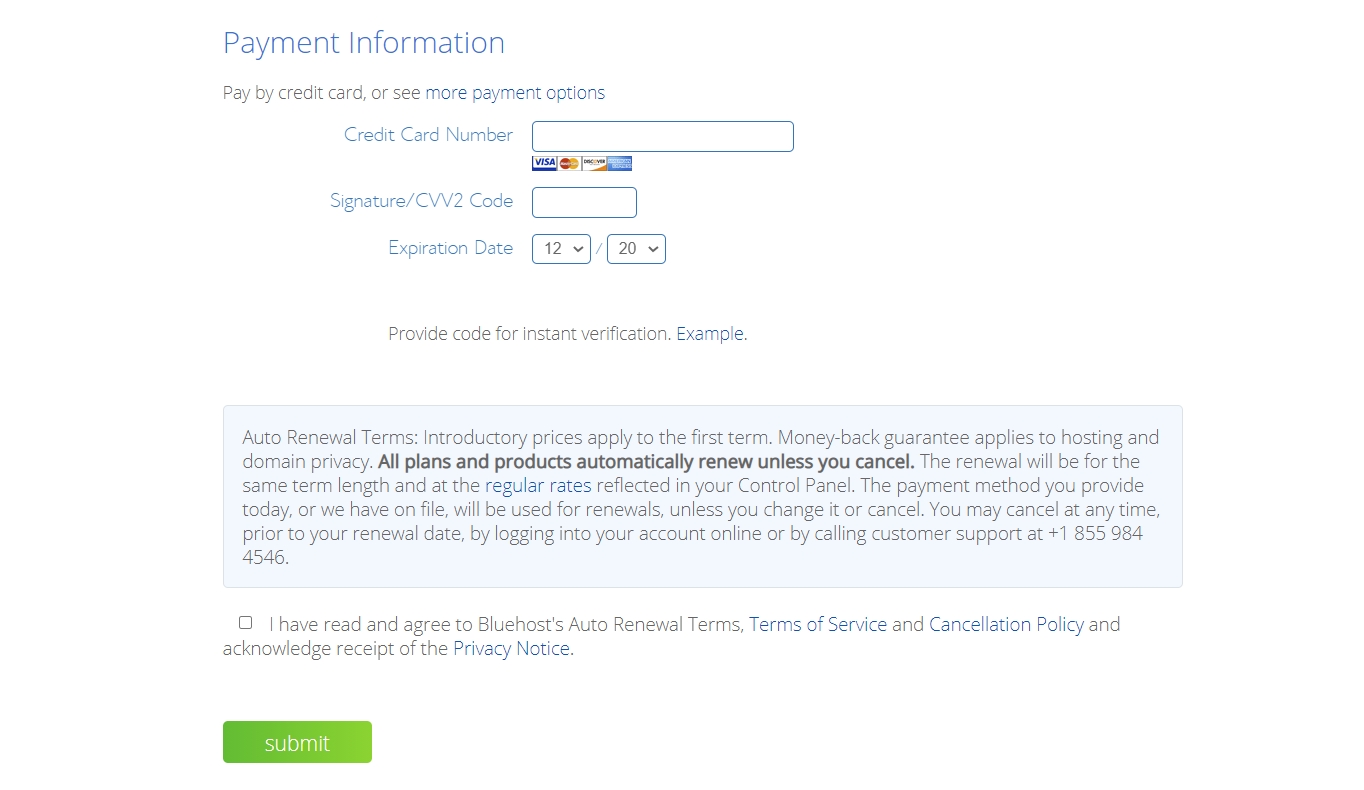
Do note that the amount indicated in each plan is billed annually. You might be surprised to find that Bluehost has deducted a lump sum instead of the indicated monthly price.
Bluehost offers a 30-day money-back guarantee, so you can always opt-out during that time.
However:
That doesn’t extend to the domain. If you get a domain from Bluehost and then cancel within the first 30 days, they will deduct the necessary amount for the yearly domain fee. So, keep this in mind in case you ever need to get your money back.
Once you’ve finished this step, you’ll be greeted with a confirmation.
NOTE: Remember to create a new password for your Bluehost account.
You may also notice that Bluehost creates a site for you after registration. You can delete this site by going to “Manage Site” then click “Settings,” scroll down to the bottom of the page, then Delete the site.
Step 6: Install WordPress With Bluehost’s “One-click Installation”
Once you’ve finished signing up for Bluehost, the next step is to install WordPress and start setting up your site. Bluehost lets you install WordPress easily and in no time with their streamlined 2025 installation process.
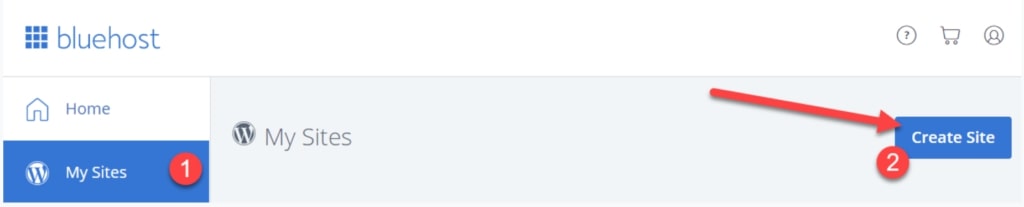
1. To begin, just log into your Bluehost account and click “My Sites” then click “Create Site”.
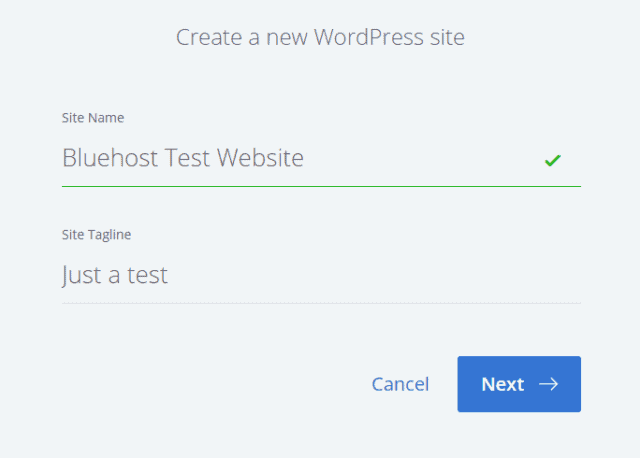
2. Give your new WordPress site a name and a tagline.
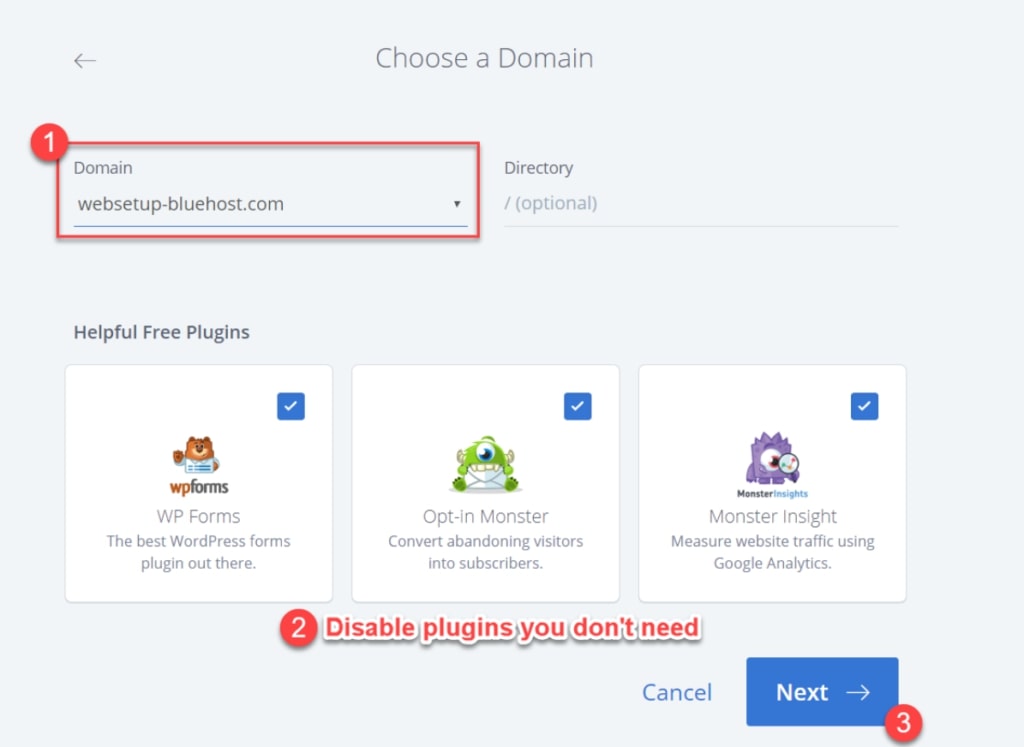
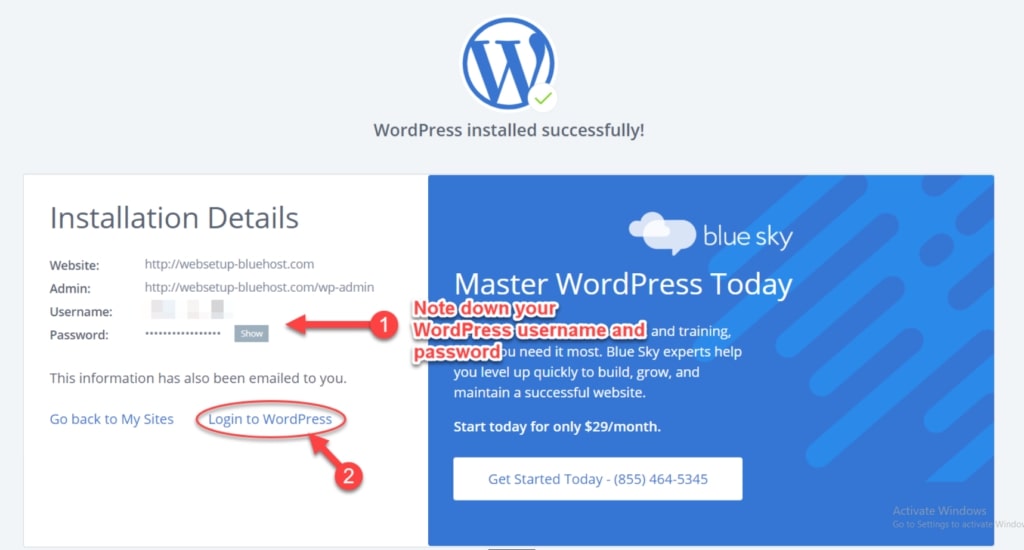
3. Next, select the domain you want to use for this WordPress website, and uncheck the plugins you don’t need. Remember to take note of your WordPress website’s URL, Username, and Password.
4. Now it’s time to pick a theme for 2026. You can choose from your installed themes or any one of the thousands of free WordPress themes available.

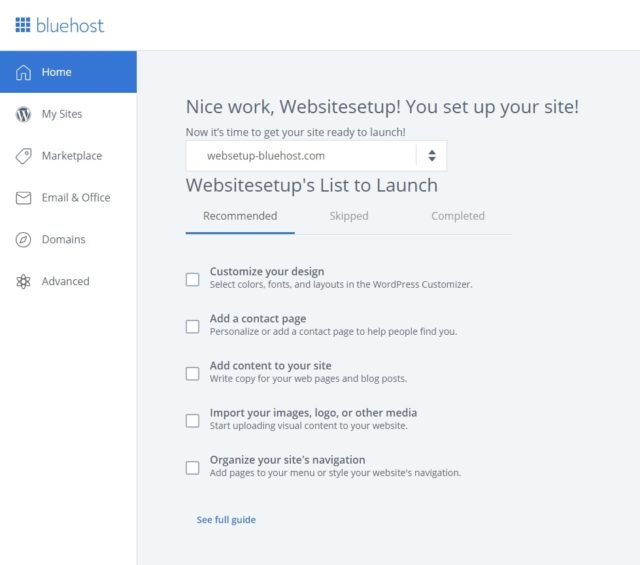
5. From there, the next step is all up to you.
Do you want to make a contact page to help people reach you? Perhaps you want to add content to your website? Maybe you want to add images or more pages?
Bluehost lets you do all these things easily by simply hovering over each option and clicking “Let’s Go”.
Congratulations! Your WordPress site is now up and running for 2026!
Back to the main guide: How to Create a Website