Have you ever wished you could experiment with WordPress without the cost or complexity of installing it on a web hosting server?
Staging environments work well when you need to debug issues or test updates before pushing to production. But what about when you want to:
- Try out new plugins and themes?
- Explore WordPress 6.9+ features and the latest block editor capabilities?
- Experiment with trending design techniques or AI-powered tools?
- Build client demos or portfolio pieces?
- Continue working on a website offline or with limited connectivity?
In those cases, it’s best to install WordPress locally on your computer. Today, we’ll show you how to install WordPress on XAMPP in 2026.
- Choose a Local Server Environment
- Download XAMPP
- Configure Your XAMPP Environment
- Create a Database
- Download WordPress
- Extract WordPress Files
- Install WordPress on the Localhost
- How to Install WordPress Multisite on Localhost
- Troubleshooting Common XAMPP Issues
- What to Do After Installing WordPress Locally
- Should You Use XAMPP for Staging?
- FAQ
- Wrap Up
How to Install WordPress Locally with XAMPP in 2026
Despite making its open-source software readily available for download, WordPress cannot be installed directly on your computer. Not on its own anyway.
If you want to install WordPress on localhost (i.e., your computer), you’ll need a local server environment.
Start here:
Step 1: Choose a Local Server Environment
To get a working installation of WordPress on your computer, you need a local environment with:
- Web server software (typically Apache or Nginx),
- PHP 8.3 or higher (WordPress recommends PHP 8.3+)
- And database management software like MySQL 8.0 or MariaDB 10.6+.
XAMPP is what we’re covering today. That said, there are other excellent options available:
- WampServer for Windows operating systems
- MAMP for Mac or Windows
- Local for Mac, Windows, or Linux (formerly Local by Flywheel, with excellent one-click setup)
- Laragon for Windows (lightweight and fast)
- DDEV for Docker-based development across all platforms
Setup isn’t complicated with any of these options. However, because XAMPP is a popular, battle-tested dev environment that’s device-agnostic (Mac, Windows, and Linux compatible), we’re focusing on it today.
Step 2: Download XAMPP
Visit the Apache Friends website and download the latest version of XAMPP for your operating system. Look for a version that includes PHP 8.3 or newer. On Linux, XAMPP ships with PHP 8.3 natively. On Windows, XAMPP’s latest installer only goes up to PHP 8.2, so you’ll need to manually upgrade PHP inside XAMPP.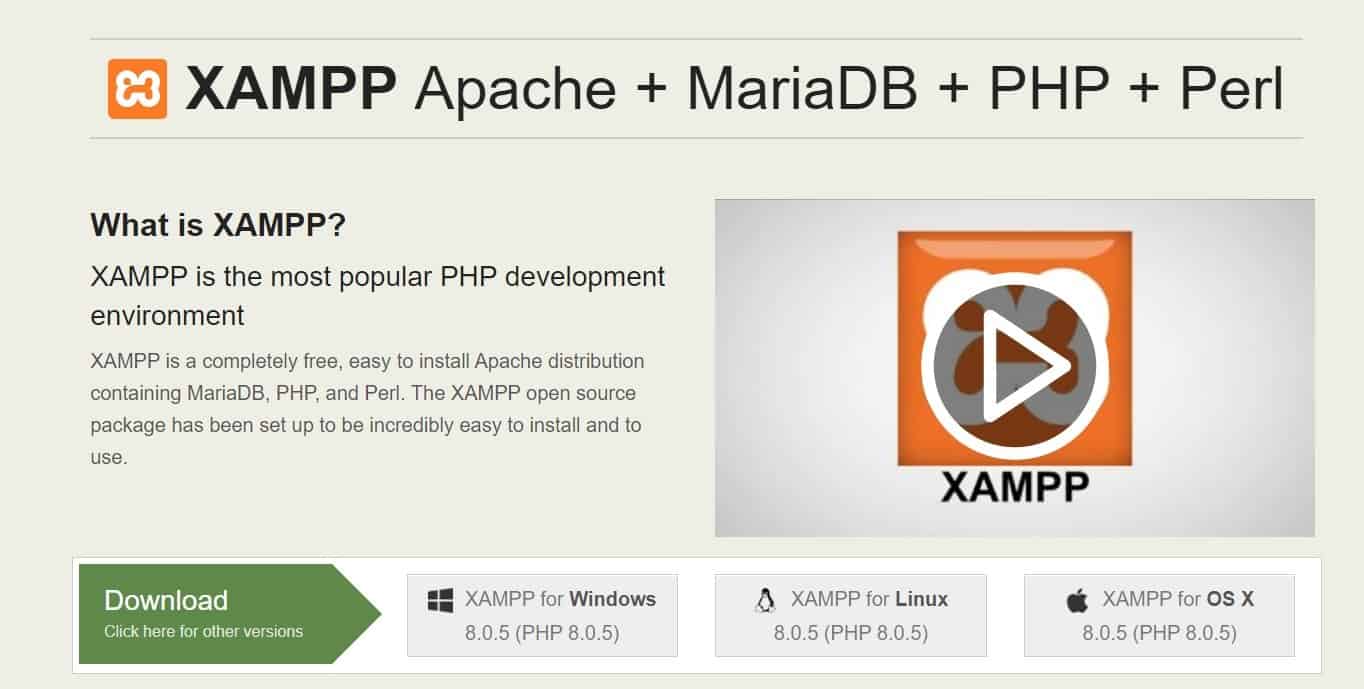
The file will automatically start to download (typically 150-160 MB).
When it’s done, add XAMPP to your applications and start the installation process.
Note: In the “Select Components” tab, you only need to choose the essentials: Apache, MySQL, PHP, and phpMyAdmin. You can safely deselect developer tools and other extras you won’t need.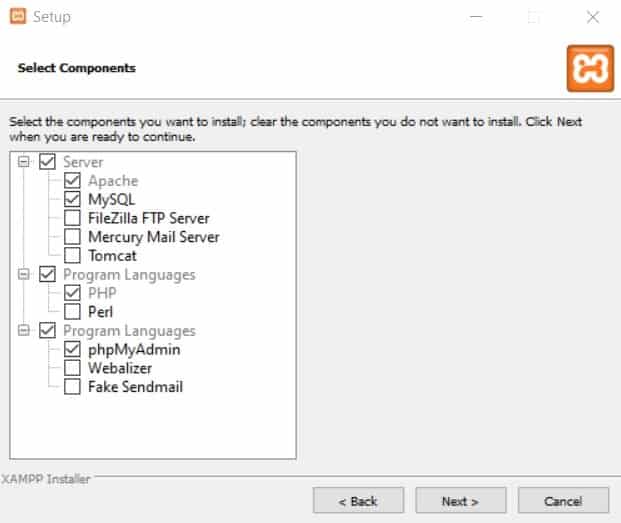
Depending on your operating system, you may need to accept firewall and access permissions before the application fully loads. If you’re running antivirus software, you may also see a warning – this is safe to proceed through as long as you downloaded XAMPP from the official Apache Friends website.
Once everything is installed, you’ll be greeted with the XAMPP Control Panel: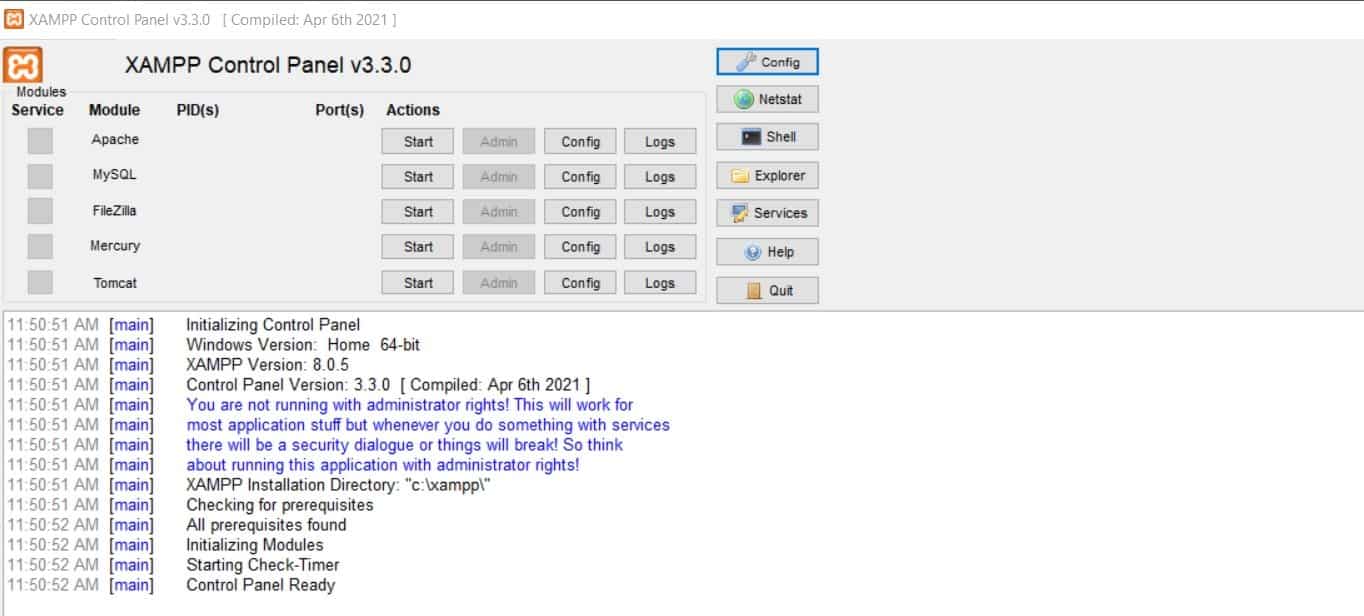
Now you’re ready to start configuring.
Step 3: Configure Your XAMPP Environment
To start XAMPP properly, you’ll need to launch Apache and MySQL. Click “Start” next to each module.
If everything works correctly, both modules will turn green: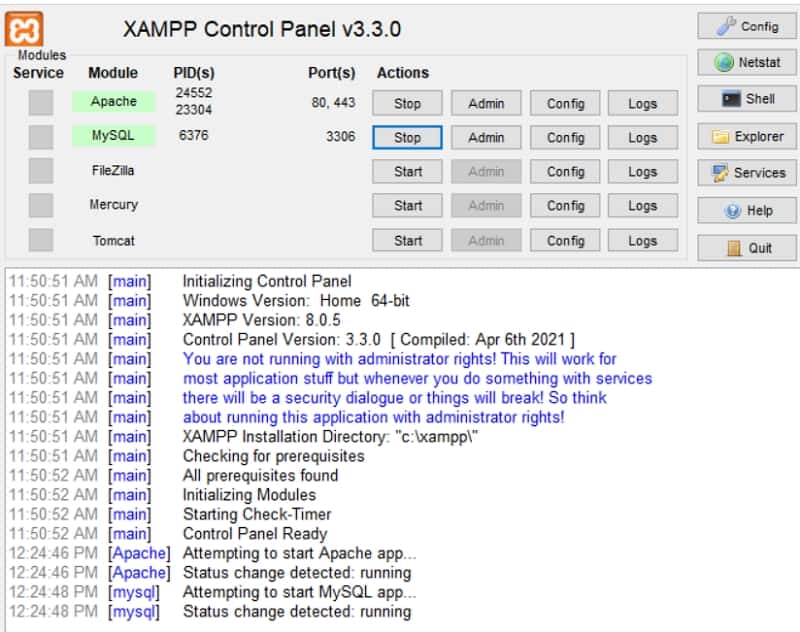
Note: If you encounter port conflicts (common with Skype or other applications using port 80), you can change Apache to use port 8080 instead. For WordPress Multisite, however, ports 80 or 443 are required. See the Troubleshooting section below for more details on fixing port conflicts.
Step 4: Create a Database
You have just one more setup task.
Open a new browser tab and navigate to your localhost: http://localhost
You’ll see the XAMPP welcome page: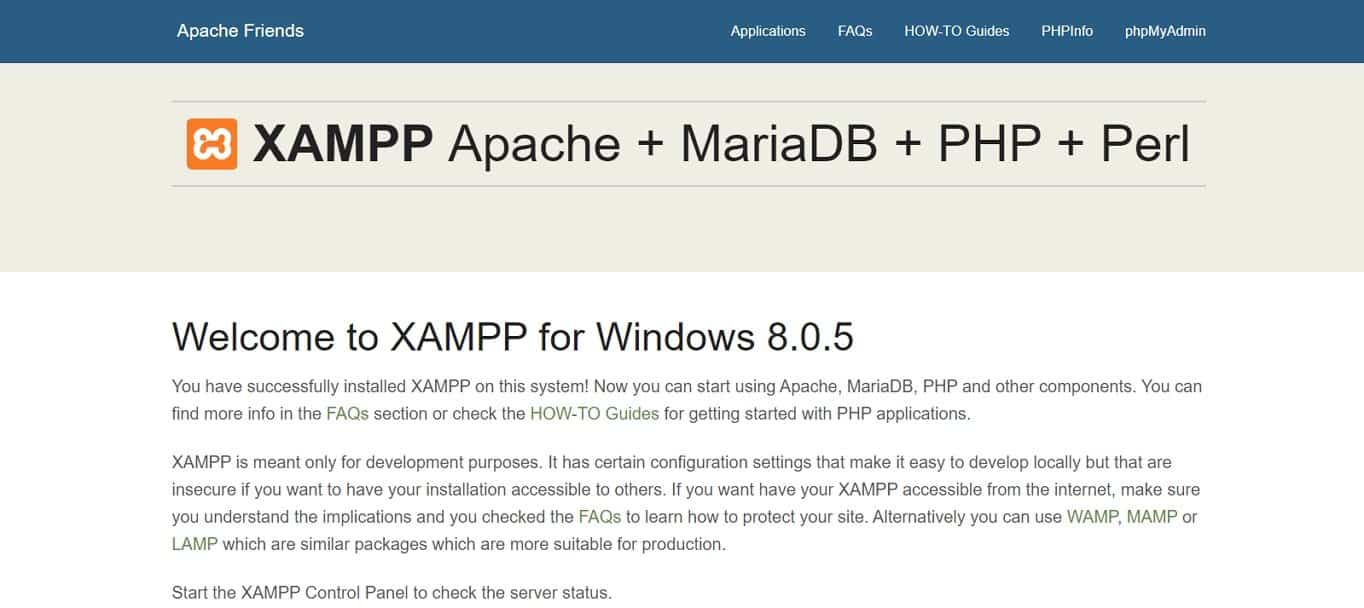
Click the phpMyAdmin button in the top navigation. phpMyAdmin will launch: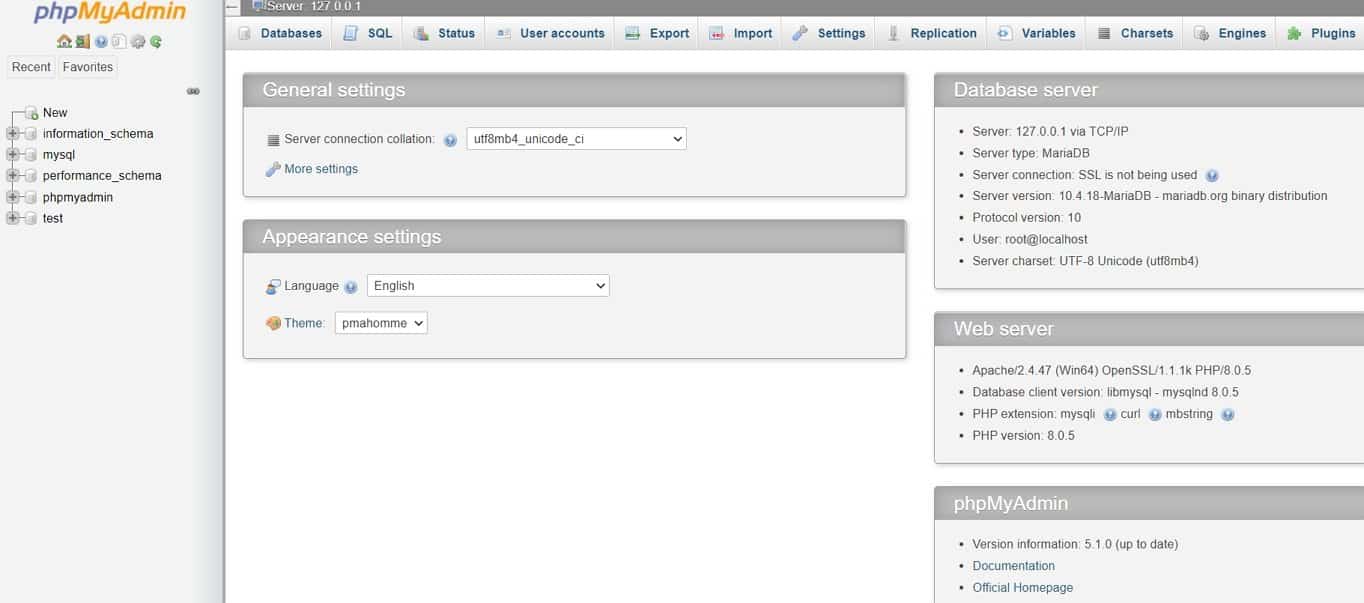
Before adding WordPress to the local server, we need a database for it. Go to the Databases tab at the top:
Give your database a name (use lowercase letters and underscores instead of spaces). For the collation, select utf8mb4_unicode_ci (recommended for WordPress). Click “Create” when done.
Unlike a live server, you don’t need to create a separate database user – XAMPP’s default root user handles everything locally.
Step 5: Download WordPress
To get the latest version of WordPress, visit WordPress.org. Click “Get WordPress”:
Download the .zip file:
Step 6: Extract WordPress Files
To install WordPress locally, move your downloaded files (unzipped) to XAMPP’s htdocs folder.
The typical location is:
- Windows: C:\xampp\htdocs\
- Mac: /Applications/XAMPP/htdocs/
- Linux: /opt/lampp/htdocs/
Tip: The easiest way to find this folder is to open XAMPP and click the “Open Application Folder” button (or “Explorer” on Windows), then navigate to htdocs from there.
In htdocs, create a new folder for your site. For example, “testsite”:
Extract the WordPress .zip file into this folder. Make sure the WordPress files (wp-admin, wp-content, wp-includes, etc.) are placed directly inside your site folder – not nested inside an extra “wordpress” subfolder:
You’re now ready to install WordPress locally.
Step 7: Install WordPress on the Localhost
To access your new WordPress installation, navigate to your localhost address followed by your folder name.
For example: http://localhost/testsite
You’ll see the WordPress setup page:
Select your language and proceed to the database configuration step.
Enter your database details:
- Database name: The name you created in phpMyAdmin (see step 4)
- Username: root
- Password: Leave blank (default XAMPP setting)
- Database Host: localhost
- Table Prefix: wp_ (or customize for security)

Click “Submit” and you’ll reach the WordPress installation page.
Note: If WordPress can’t write the wp-config.php file automatically, it will display the configuration code on screen. Simply copy that code, create a new file called wp-config.php in your site’s root folder, paste the code in, and save it. Then click “Run the installation.”
Fill in your site details:
- Site Title: Your test site name
- Username: Choose a secure admin username (avoid “admin”)
- Password: Use a strong password
- Email: Your email address
- Search Engine Visibility: Check this box (you’re working locally anyway)

Complete the installation and log in to your WordPress dashboard:
Congratulations! You’ve successfully installed WordPress locally with XAMPP.
To access your local site in the future, launch XAMPP, click “Start” for Apache and MySQL, then navigate to your localhost URL. (Bookmark it for quick access.)
How to Install WordPress Multisite on Localhost
If you want to test a WordPress Multisite network locally, XAMPP supports it with a few extra steps.
Steps 1-7: Install WordPress Locally
Complete Steps 1 through 7 above to set up a standard WordPress installation first.
Step 8: Activate WordPress Multisite
Open the wp-config.php file from your WordPress folder in htdocs.
Find this line:
/* That's all, stop editing! Happy publishing. */
Just above it, add the Multisite activation code:
define('WP_ALLOW_MULTISITE', true);
Save the file.
Log out of your WordPress dashboard and log back in. Navigate to Tools > Network Setup.
Important: WordPress Multisite requires ports 80 or 443. If XAMPP is running on a different port (like 8080), you’ll need to reconfigure Apache to use port 80, or use the subdirectory installation method instead of subdomains.
Choose whether you want a subdirectory-based or subdomain-based network. For local development, subdirectories are typically easier to configure. Give your network a name and designate the admin email, then click Install.
Step 9: Update Configuration Files
After clicking Install, WordPress will display code snippets that you need to add to two files:
1. wp-config.php – Add the provided code just above the line that says /* That's all, stop editing! Happy publishing. */. This will include lines like:
define('MULTISITE', true);

define('SUBDOMAIN_INSTALL', false);

define('DOMAIN_CURRENT_SITE', 'localhost');

define('PATH_CURRENT_SITE', '/testsite/');

define('SITE_ID_CURRENT_SITE', 1);

define('BLOG_ID_CURRENT_SITE', 1);
2. .htaccess – Replace the existing WordPress rules in your .htaccess file with the code WordPress provides.
Save both files. Log out and log back in. You’ll now see a My Sites menu in the top admin bar, and a Network Admin dashboard where you can manage all sites in your multisite network.
Troubleshooting Common XAMPP Issues
XAMPP is reliable, but you may run into a few hiccups – especially on your first setup. Here are the most common issues and how to fix them.
Port Conflicts (Apache Won’t Start)
If Apache won’t start or shuts down immediately, another application is likely using port 80. Skype, IIS, and other web servers are common culprits.
To fix this:
- Close the conflicting application, or
- Change Apache’s port in XAMPP. Open the XAMPP Control Panel, click Config next to Apache, select httpd.conf, and change
Listen 80toListen 8080. Save the file and restart Apache. Your localhost URL will then be http://localhost:8080 instead.
Maximum PHP Execution Time Exceeded
This error can occur when installing plugins or importing content. To fix it:
- Open XAMPP’s application folder and navigate to the etc (or php) subfolder.
- Open the php.ini file in a text editor.
- Search for
max_execution_time. You’ll see something likemax_execution_time=120. - Increase the value – for example, change it to
240. - Save the file and restart Apache from the XAMPP Control Panel.
Maximum Upload File Size Exceeded
If you can’t upload themes, plugins, or media files because of a file size limit:
- Open the same php.ini file.
- Search for
upload_max_filesizeand increase it (e.g., from40Mto128M). - Also update
post_max_sizeto a matching or higher value. - Save and restart Apache.
phpMyAdmin Access Forbidden (403 Error)
If you see a 403 error when trying to access phpMyAdmin:
- Open your XAMPP application folder and navigate to etc/extra.
- Open the httpd-xampp.conf file in a text editor.
- Look for the code block starting with
Alias /phpmyadmin. - Find the line that says
Require localand change it toRequire all granted. - Save the file and restart Apache.
WordPress Can’t Write wp-config.php
If the WordPress installer shows you the configuration code instead of writing the file automatically, it’s a file permissions issue. Simply copy the code displayed, create a new file called wp-config.php in your WordPress root folder, paste the code in, and save. Then click “Run the installation” to continue.
What to Do After Installing WordPress Locally
With WordPress running on XAMPP, you have a fully functional WordPress environment. Here are some productive ways to use it:
- Test themes and plugins: Install, activate, and experiment with as many themes and plugins as you like without affecting a live site.
- Learn the block editor: WordPress now uses the block editor (Gutenberg) by default, and newer block themes support Full Site Editing. Your local site is the perfect place to explore these features.
- Practice site building: Build complete demo sites for clients or your portfolio.
- Test WordPress updates: Before updating your live site’s WordPress core, themes, or plugins, test the updates locally first.
- Mirror your live site: Import a backup of your live site into your local installation to create a replica. This is useful for testing changes on a copy of your actual content and settings.
Your local site is only visible on your computer – it’s not accessible to the public internet. When you’re ready to take a site live, you’ll need to migrate it to a web hosting provider.
Should You Use XAMPP for Staging?
While XAMPP is excellent for local development and experimentation, it has limitations as a staging environment for a live site.
The main issue: your local XAMPP server has a different hardware and software configuration than your live hosting server. Something that works perfectly on your laptop may behave differently on your production server – and vice versa. Issues related to server performance, caching, and specific hosting configurations won’t be replicated locally.
For true staging, you’re better off using:
- Your hosting provider’s built-in staging feature (many hosts offer one-click staging).
- A tool like Local, which offers push/pull capabilities with some hosting providers.
That said, XAMPP remains one of the best tools for learning WordPress, testing ideas, and building sites before you’re ready to go live.
Frequently Asked Questions
Is XAMPP safe to use?
Yes – XAMPP is open-source software maintained by Apache Friends and is safe for local development. However, it’s designed for development purposes only and should never be used as a production server. The default configuration (no root password, open access) is intentionally relaxed for ease of use on your own computer.
Can I run multiple WordPress sites on XAMPP?
Yes. Simply create a separate folder in htdocs for each site and create a corresponding database in phpMyAdmin. Each site will have its own localhost URL (e.g., http://localhost/site1, http://localhost/site2).
Do I need an internet connection to use WordPress on XAMPP?
No. Once XAMPP and WordPress are installed, your local site runs entirely on your computer. You only need an internet connection to download themes, plugins, or WordPress updates.
How do I move my local WordPress site to a live server?
You can migrate your local site to a live host manually (by exporting your database and uploading your files) or by using a migration plugin like Duplicator or All-in-One WP Migration. Most web hosting providers also offer migration assistance.
What’s the difference between XAMPP and Local?
Both let you run WordPress on your computer. XAMPP is a general-purpose local server stack (Apache, MySQL, PHP) that works with any PHP application, not just WordPress. Local (formerly Local by Flywheel) is built specifically for WordPress, offers a more user-friendly interface, and includes features like one-click WordPress setup, SSL support, and live link sharing. If you only need to run WordPress locally, Local may be the simpler choice. If you want broader development capabilities, XAMPP is more flexible.
Wrap Up
Installing WordPress on XAMPP is a straightforward process that gives you a free, private environment for building, testing, and learning. Once you’ve done it once, spinning up new local sites takes just a few minutes.
To recap the steps:
- Download and install XAMPP.
- Start the Apache and MySQL modules.
- Create a database in phpMyAdmin.
- Download WordPress and extract it to your htdocs folder.
- Run through the WordPress installer at your localhost URL.
From there, you have a fully working WordPress site on your own machine – no hosting costs, no risk to a live site, and no internet connection required.