In this tutorial, you’re going to learn how to create email accounts for your domain name. We’ll take you step-by-step through the process, giving you two alternative paths based on your needs.
How to Get an Email Address on Your Custom Domain Name
You probably already have Gmail or another free email account. While that works fine personally, it doesn’t look professional for business use.
For example, emailing a business contact from john.smith987@gmail.com isn’t optimal. A much better alternative is to set up a custom email address under your own domain name – if you own a domain already (if not, here’s how to register a domain name).
Instead, you can use something like john@yourdomain.com, which projects a completely different professional image.
Today, we’re going to learn how to create email accounts for your domain name – so you get an email address with your own domain after the @ symbol. This approach remains the standard for professional communication heading into 2026.
We’re going to show you two ways to do that:
- Option A) Handle everything within your web hosting control panel at Bluehost – one of the leading web hosting companies, known for low prices and beginner-friendly tools.
- Option B) Connect your domain name to Google Workspace (formerly G Suite) – you’ll interact with email through a Gmail-like interface, but using your custom domain email instead of a standard
@gmail.comaddress.
Path (A) is much more beginner-friendly – we’d rate it 5/5 on ease of use. Path (B) is a moderate 3/5 but offers superior spam filtering and security features heading into 2026.
Option A) Create Email Accounts for Your Domain Name with Web Hosting Provider
Many top web hosting companies offer free email accounts for customers. Bluehost, Hostgator, and Dreamhost all include this feature.
In this example, we’ll show you how to create email accounts for your domain name with Bluehost:
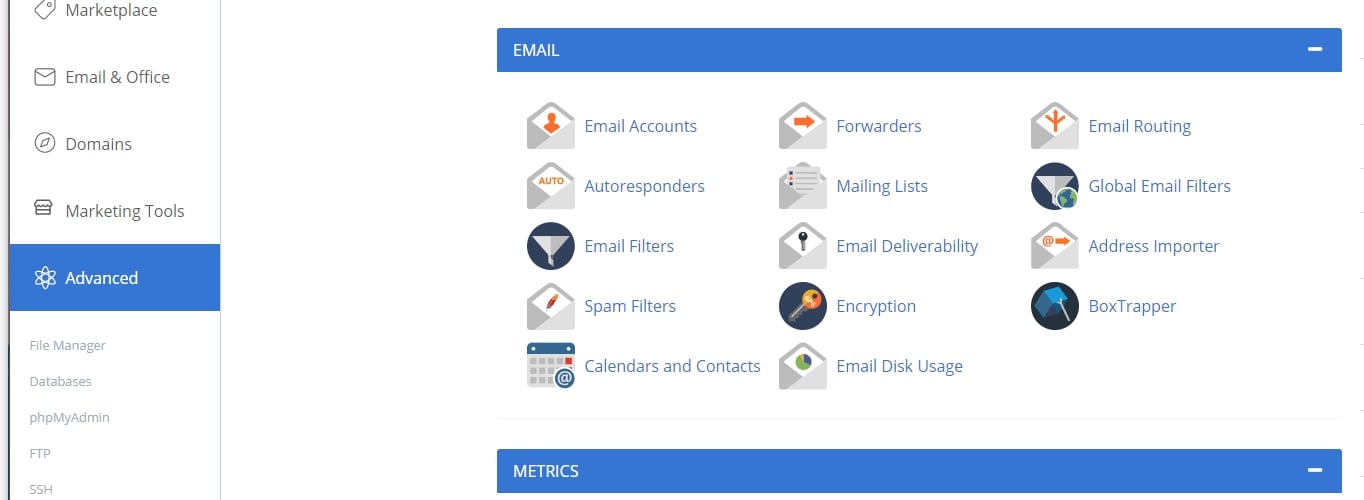
First, log in to your Bluehost control panel and navigate to the Advanced tab from the main sidebar.
Scroll down to the Email section and click on Email Accounts.
Click the ‘Create‘ button.
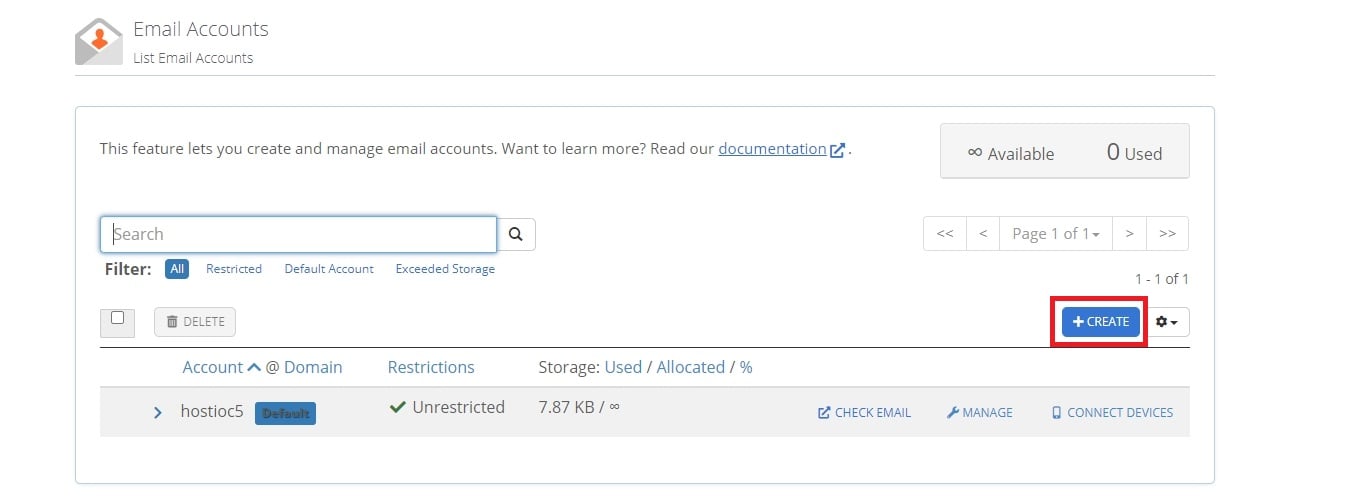
Here’s how to fill out the form:
- Username: Enter your desired email identifier. You can use
firstname.lastnameformat for a professional appearance. - Storage space: Depending on your Bluehost hosting tier, you’ll have different disk space available. For a single email account, you could set this to Unlimited, but 500 MB to 1 GB is more than sufficient for typical business email usage in 2025.
Once you’ve filled in the fields, click Create again.
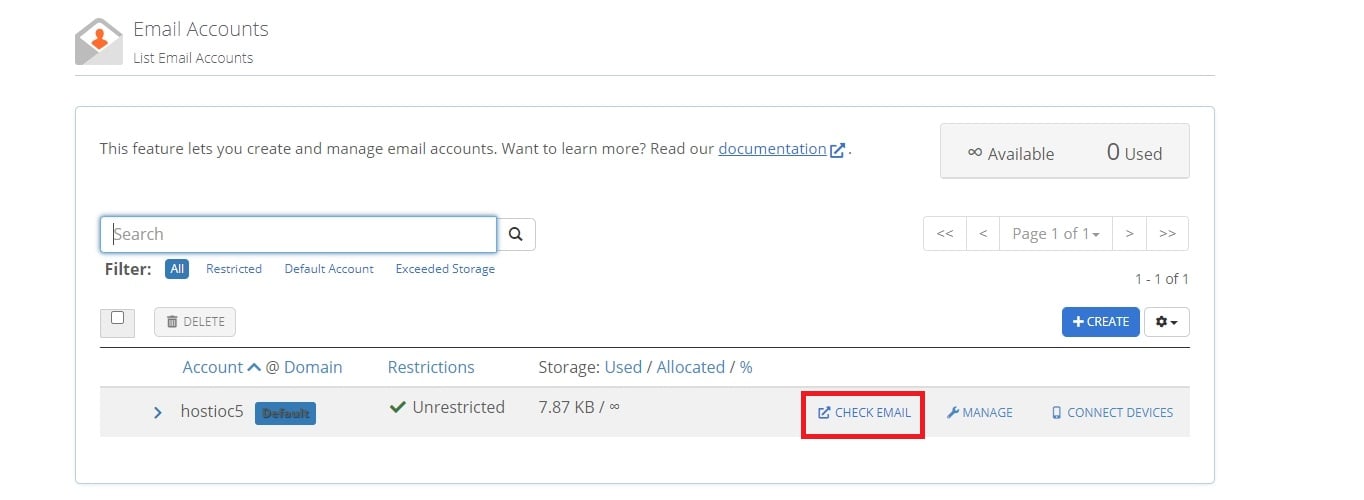
Your email account is created instantly and ready to use. Next, learn how to access your new email:
Click ‘Check Email‘ to start using your email account immediately via Bluehost’s webmail interface.
More likely, you’ll want to configure this email on your laptop or mobile device. For that, click the Connect Devices button to see configuration options.
You’ll see a page with instructions for connecting your favorite email application. Bluehost provides auto-configuration options for many popular email solutions and mobile apps:
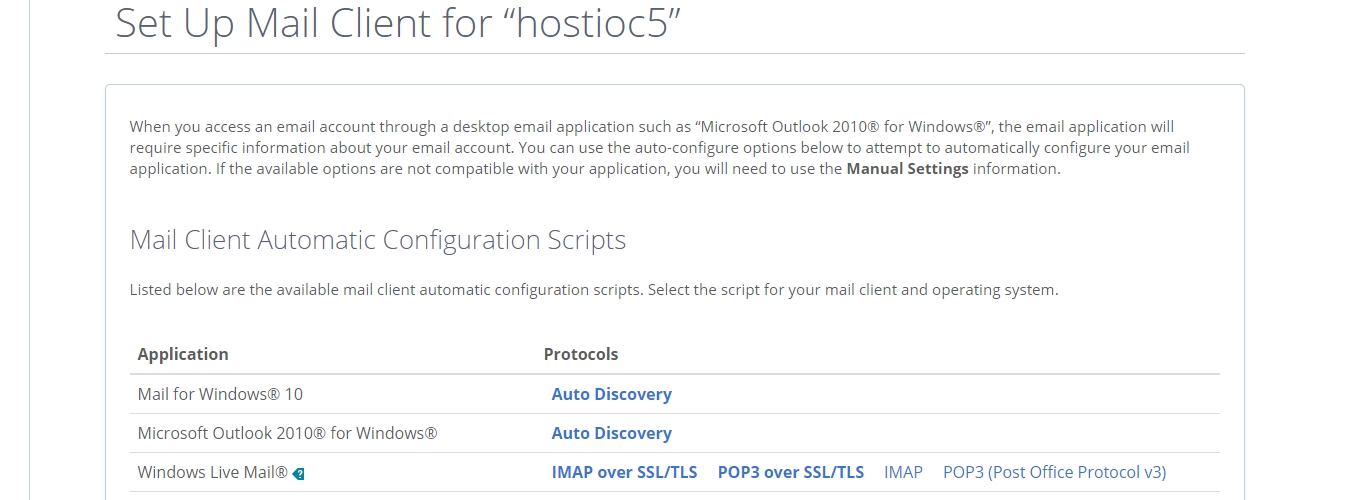
Further down the page, you’ll find manual configuration details if your preferred tool isn’t listed.
That’s it! Your new email account is fully operational and can be accessed from any device.
Option B) Create Email Accounts for Your Domain Name with Google Workspace
For users who prefer Google’s ecosystem, Bluehost also supports Google Workspace (recommended) and Microsoft 365 integration rather than using their free webmail portal.
This process involves more steps than Option A, but can be completed by beginners who follow instructions carefully. Creating email accounts for your domain name with Google Workspace involves an additional fee beyond your domain registration costs.
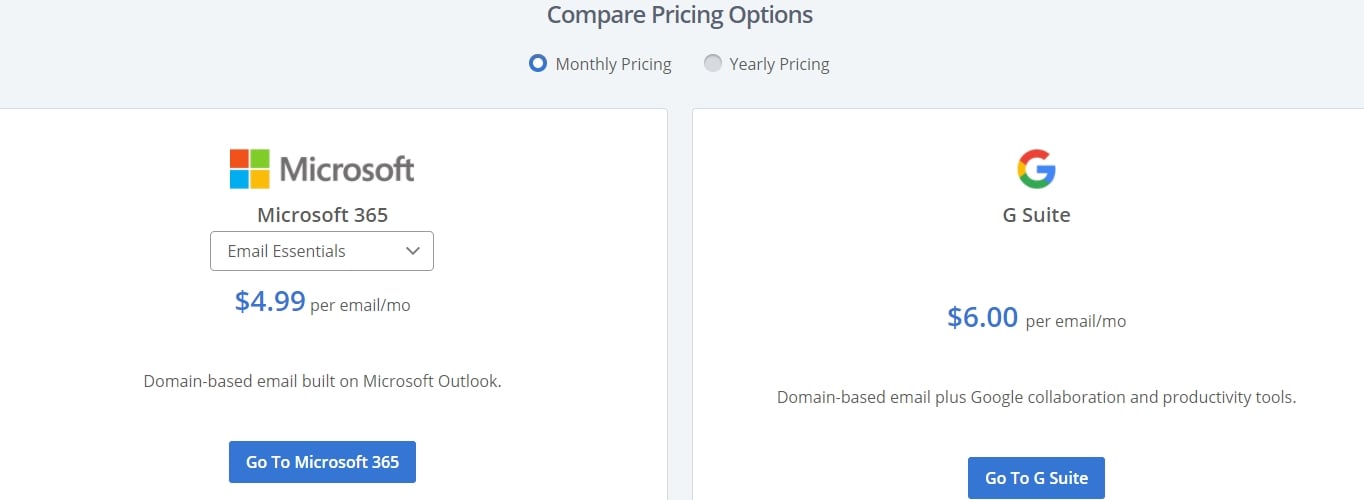
While standard @gmail.com emails are free, Google charges for custom email addresses on your own domain name.
This premium service is called Google Workspace. As of late 2025, the Business Starter plan costs $6/user/month, with a 14-day trial available (credit card required). Though it may seem expensive, Google Workspace is a business product offering many tools beyond custom email – including enhanced security features, AI-powered spam filtering, and collaboration tools that continue to improve heading into 2026.
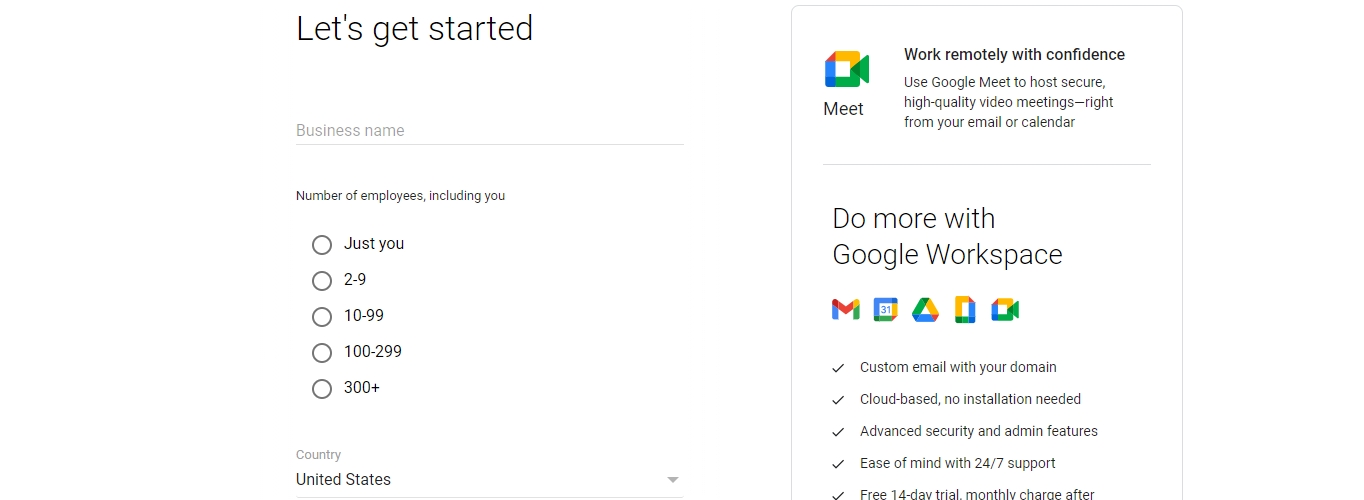
When ready, visit the Google Workspace pricing page and click a Get Started button. You’ll see a signup form with basic questions about your business and needs.
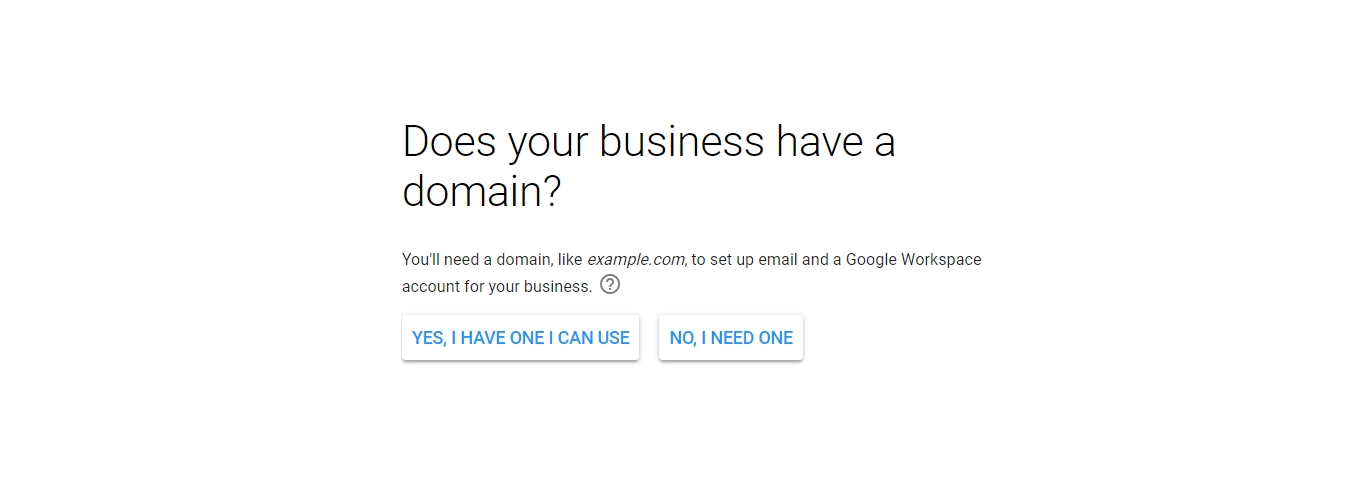
During signup, you’ll be asked if you already have a domain to connect with Google Workspace. Select Yes, I have one I can use.
Enter your domain name and complete all subsequent steps. The final step is creating your primary Google Workspace user account.
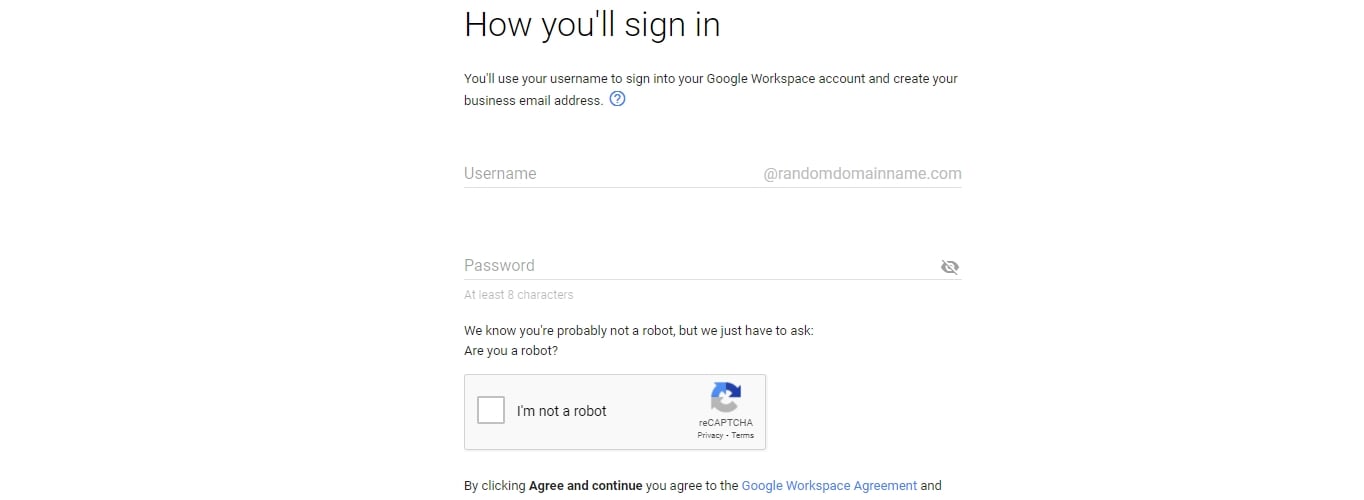
Once finished, you’ll reach your Google Workspace login screen. After logging in, you’ll provide additional details to fully activate your account.
At this stage, you’ve successfully signed up for Google Workspace. However, you’re still a few steps away from creating functional email accounts for your domain name.
Here’s what you need to do now:
- Verify your domain name with Google Workspace. This confirms you own the domain you indicated during setup. The wizard shows several verification options. This step varies depending on where your domain is registered. Google Workspace provides instructions for different registrars.
- Create additional user accounts if needed. This is where you set up your personal account, e.g.,
name@yourdomain.com. - Activate Gmail for each account you created in the previous step.
Here’s a general overview of this process with step-by-step guidance.
After completing these steps, you’ll have fully functional email accounts at your disposal, accessible via Gmail’s familiar interface with enhanced security and spam protection optimized for 2026.
If you prefer not to use Gmail’s interface, you can configure your new email accounts in third-party email applications easily (for example, on your mobile device or laptop email client).
You can do this using either POP3 or IMAP protocols. Google Workspace explains the difference clearly. In most cases, you’ll want to use IMAP when configuring email on modern devices or software, like mobile devices or Microsoft Outlook. Here’s how to complete that configuration.
All Done!
That’s it! Your new professional email account is fully operational and can be integrated with additional devices for convenience. With improved security features and AI-powered tools becoming standard in 2026, you’re set up with a professional email solution that will serve your business needs for years to come.