You can still start a blog in 2026, and you can still make money from one. What’s changed is how you do it well. Search looks different now, AI can write a first draft in seconds, and there are more ways to publish than ever. This guide walks you through the whole thing, step by step, the way it actually works this year, not the way it worked in 2020.
Here’s the honest version up front. Blogging is no longer a get-rich-quick scheme, if it ever was. It rewards a clear niche, real expertise, and patience. But it’s still one of the cheapest, lowest-risk businesses you can start, you can have a real blog online today, and the blogs that win in 2026 are the ones built by a person with something genuine to say. That can be you.
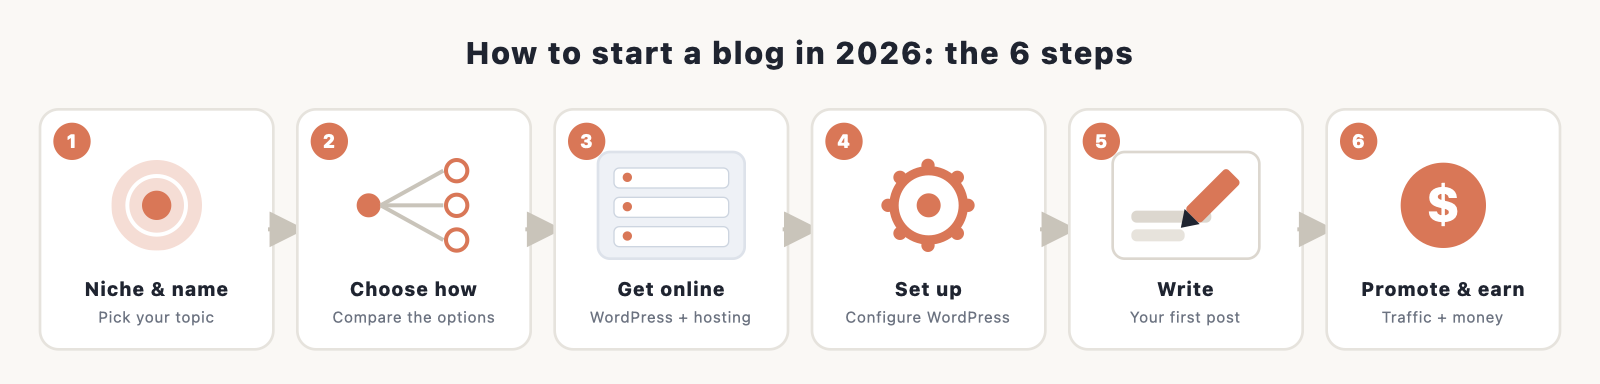
The six steps:
- Pick your niche and blog name
- Choose how to build your blog (the 2026 options)
- Get your blog online with WordPress and hosting
- Set up and configure WordPress
- Design and customize your blog
- Write your first post, the 2026 way
By the end you’ll have a live blog you own, plus a plan for traffic and money.
Is blogging still worth it in 2026?
Short answer: yes, if you go in with open eyes. Here’s the real picture.
Blogging is more competitive than it was a decade ago, and AI has flooded the web with generic content. Most blogs earn little, surveys put a large share of bloggers under $100 a month, and only a minority reach a full-time income. It also takes time. Most bloggers need six to twelve months to earn their first dollar and a year or two of consistent work before the money gets meaningful.
So why do it? Because the upside is real and the cost to try is tiny. The blogs thriving in 2026 are the ones with genuine expertise, first-hand experience, original data, and a clear niche. When AI filled the web with sameness, that kind of human, experience-led content actually became more valuable, not less. If you know something well and you’re willing to be useful and patient, a blog is still one of the best ways to build an audience, an email list, and income you control.
One thing to be clear-eyed about: search has changed. Google’s AI Overviews now appear on roughly half of searches, and they answer a lot of questions without a click. Studies through late 2025 and 2026 show click-through rates falling anywhere from 15% to nearly 90% on AI-answered queries, and around 60% of searches now end without anyone clicking a result. That sounds grim, but it changes the strategy rather than killing it. You win in 2026 by being the source AI engines quote, by writing the experience-based content they can’t generate, and by building traffic from more than just Google. We’ll come back to that in the writing and promotion steps. (Figures here are as of 2026; the search landscape moves fast.)
Step 1: Pick your niche and blog name
Before anything technical, decide what your blog is about and what it’s called.
Choose a niche you can stick with
A niche is simply the focused topic your blog covers. “Food” is a category; “quick weeknight dinners for busy parents” is a niche. Narrow wins in 2026, because topical authority (covering one subject deeply) is what earns trust with both readers and search engines. Pick something where you have real experience or genuine interest, because you’ll be writing about it for a long time, and because experience is exactly the signal that sets you apart from AI-generated filler.
A few prompts to find yours: What do people ask you for advice about? What could you talk about for an hour without notes? What do you want to get better at and document along the way? The best niche sits where your knowledge, your interest, and what people actually search for overlap.
You can use AI here as a brainstorming partner. Ask ChatGPT or Claude to list sub-niches within a topic, suggest angles, or pressure-test whether a niche is too broad or too crowded. Treat its answers as a starting point to react to, not gospel.
Before you commit, do a quick demand check. Search your topic and a few specific questions within it. If you see other blogs, videos, products, and ads, that’s a good sign: it means people care about this and spend money on it, which is what you want, not a reason to back off. A keyword tool (even a free one like Google Keyword Planner) shows roughly how many people search a phrase each month, so you can tell the difference between a topic with an audience and one only you find interesting. Niche also affects how much you can earn. Food, personal finance, and lifestyle blogs tend to earn the most per visitor, though they’re also the most competitive, while narrower hobby niches earn less but are easier to rank in. The sweet spot is a topic with real demand that you can speak to with genuine authority.
Pick a name and check the domain
Your blog name should be easy to say, easy to spell, and ideally hint at your topic. Keep it short, avoid hyphens and numbers, and make sure you can get the matching domain (the web address, like yourblog.com). A .com is still the safest choice.
Stuck? Our blog name generator spins up ideas, and AI tools are great for riffing on names too. Once you have a few candidates, you’ll register the domain in Step 3 (you usually get it free for the first year with hosting). For a deeper look at the naming and registration side, see our guide to registering a domain name.
Step 2: Choose how to build your blog (the 2026 options)
This is the step that’s most changed from a few years ago. You have more ways to publish than ever. They are not equal, especially if you want to make money, so here’s an honest rundown and a clear recommendation.
| Way to build | Own it? | Cost to start | Monetization | Best for |
|---|---|---|---|---|
| Self-hosted WordPress | Yes, fully | About $3 to $10/mo | Unlimited (ads, affiliate, products) | A blog you grow and monetize |
| AI website builder | Partly | About $3 to $15/mo | Decent | Getting a WordPress blog up fast |
| No-code builder | No (platform) | About $16 to $23/mo | Limited | Design-first, no fuss |
| Newsletter platform | Mostly | Free to start | Paid subscriptions | Newsletter-first creators |
| Free platform | No | Free | Restricted | Testing the waters only |
Here’s how to think about each:
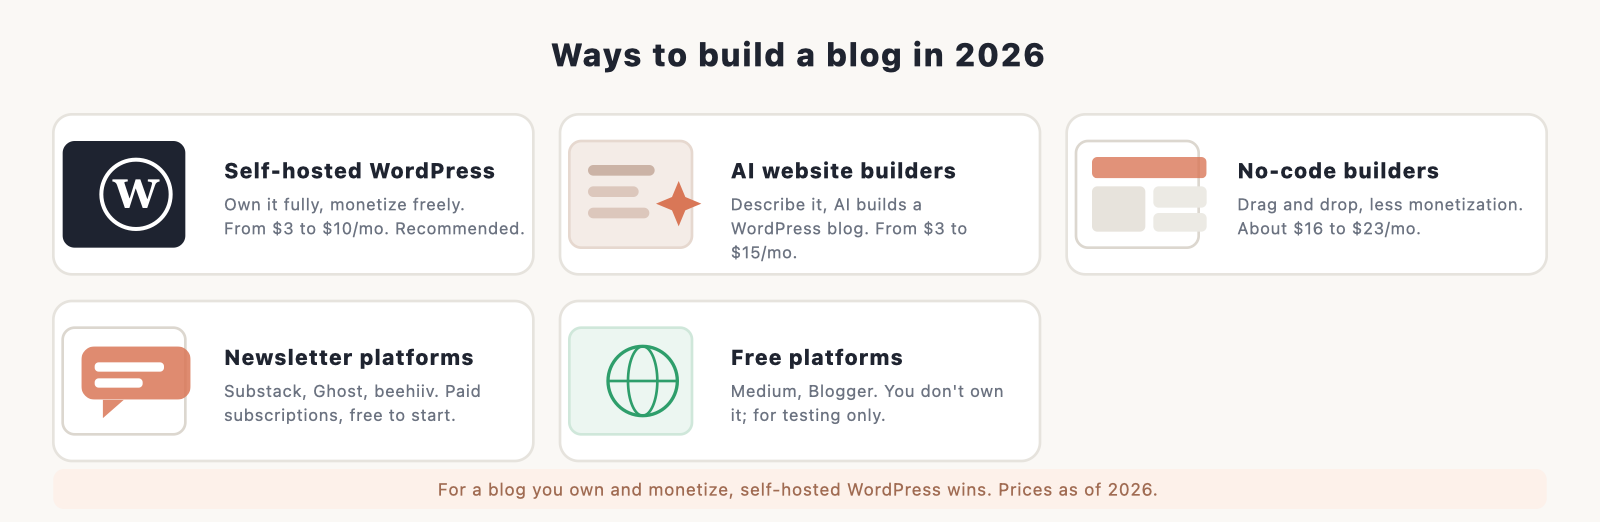
Self-hosted WordPress (the recommendation). You install the free WordPress software on hosting you pay for, and the blog is entirely yours. It powers a huge share of the web (around 40% of all websites and roughly 60% of sites that use a content management system, as of 2026), which means endless themes, plugins, and help. Most importantly, you own it and can monetize it any way you like, with no platform taking a cut or capping your ads. For a blog you intend to grow and earn from, this is still the best choice in 2026, and it’s the path the rest of this guide follows.
AI website builders. Tools like Hostinger’s AI builder (from around $3 a month) and 10Web (from around $10 a month) let you describe your blog and have AI generate it, often on top of WordPress. This is a faster on-ramp to the same place: you still get a WordPress blog you can grow, just with the AI doing the initial setup. Worth a look if you want speed and don’t mind the AI making the first design decisions.
No-code builders. Squarespace and Wix (from roughly $16 to $23 a month) give you polished, drag-and-drop design with no code. They’re lovely for a brochure-style site, but you’re renting space on their platform, and monetization is more limited. Fine for a personal or portfolio blog; less ideal if income is the goal.
Newsletter platforms. Substack, beehiiv, and Ghost have surged: Substack passed five million paid subscriptions in 2026, and beehiiv is built around monetization. These are excellent if your blog is really a newsletter and you want paid subscriptions from day one. The trade-offs: Substack takes a cut, and you’re more dependent on their ecosystem. Ghost is the middle ground, open-source and focused on owning your audience. Many creators run a WordPress blog and a newsletter together.
Free platforms. Medium, WordPress.com’s free tier, and Blogger cost nothing, but you don’t own your blog, the address looks unprofessional, and your ability to make money is restricted. Use them to test whether you enjoy writing, not to build a business.
The pattern to notice: it comes down to owning your platform versus renting reach. For a blog you control and can monetize without limits, self-hosted WordPress wins, which is why we set it up next. If you’d like the full side-by-side of every method (including AI coding tools for the technical), see our guide on the best way to build a website.
Step 3: Get your blog online with WordPress and hosting

To put a self-hosted WordPress blog online you need two things: a domain name (your address) and web hosting (the space your blog lives in). The simplest way to get both, set up together and ready for WordPress, is through a hosting company. We recommend Bluehost: it’s affordable, beginner-friendly, officially recommended by WordPress.org, and it installs WordPress for you. You can have your blog online in about 20 minutes.
Here’s the process:
1. Choose a hosting plan. Go to Bluehost and pick a shared hosting plan. The cheapest Basic/Starter plan is plenty for a new blog. As of 2026 it starts around $3.99 a month on a longer term. One honest heads-up: that’s an introductory rate, and it renews higher (around $9.99 a month), so budget for the real long-term price. A longer initial term locks in the low rate for longer.
2. Get your domain name. During signup you can register a new domain, and it’s usually free for the first year with an annual plan. Type in the name you chose in Step 1. If it’s taken, Bluehost will suggest alternatives, or you can try a different extension. (Domains renew at roughly $15 to $20 a year after the free first year.)
3. Create your account and pick your term. Enter your details and choose your billing term. Skip the optional extras you don’t need yet; you can always add them later. Watch the total so you know exactly what you’re paying.
4. WordPress installs automatically. Bluehost sets up WordPress for you, so there’s nothing technical to do here. Once it’s done, you’ll get a login for your WordPress dashboard, which is where you’ll build and write everything.
5. Log in to WordPress. Head to your dashboard (usually yourblog.com/wp-admin) and sign in. That’s it, your blog is officially online.
If you want a screen-by-screen walkthrough of the signup itself, we have a dedicated Bluehost sign-up guide. And if you’d like to compare hosts first, see our roundup of the best WordPress hosting. Prefer the AI route from Step 2? Hostinger’s AI builder and 10Web also set up a WordPress blog for you; you’ll still choose a hosting plan, just with AI doing more of the work.
Step 4: Set up and configure WordPress
With WordPress installed, a few quick settings get your blog ready before you design it. From your dashboard, work through these:
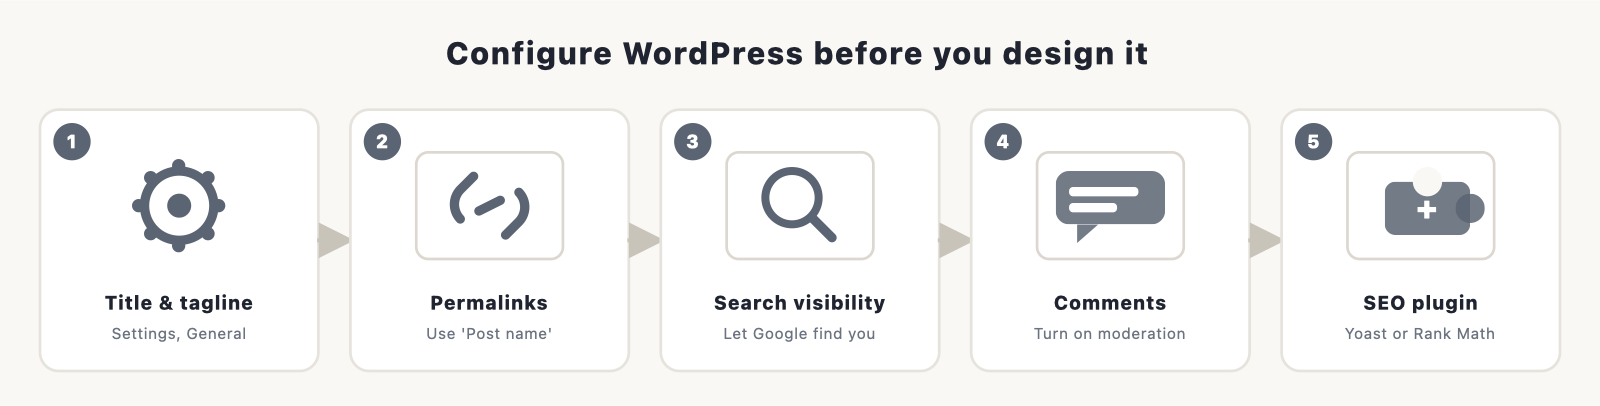
- Site title and tagline. Under Settings, General, set your blog’s title and a short tagline. These show up in search results and your browser tab.
- Permalinks. Under Settings, Permalinks, choose the “Post name” option so your URLs are clean and readable (yourblog.com/your-post-title), which is better for SEO.
- Search engine visibility. Under Settings, Reading, make sure “Discourage search engines” is unchecked once you’re ready to be found. (Leave it checked only while you’re still building.)
- Comments. Under Settings, Discussion, decide whether to allow comments and turn on moderation so you approve them before they appear, which keeps spam out.
- Install an SEO plugin. Add a plugin like Yoast SEO or Rank Math (both have free versions) to help you optimize titles, meta descriptions, and sitemaps. While you’re in Plugins, this is also where you’ll add features later. See our roundup of the best WordPress plugins to start.
That’s the housekeeping done. Now to make it look like yours.
Step 5: Design and customize your blog
WordPress controls your design through themes. A theme sets the overall look, and you can customize it without touching code.
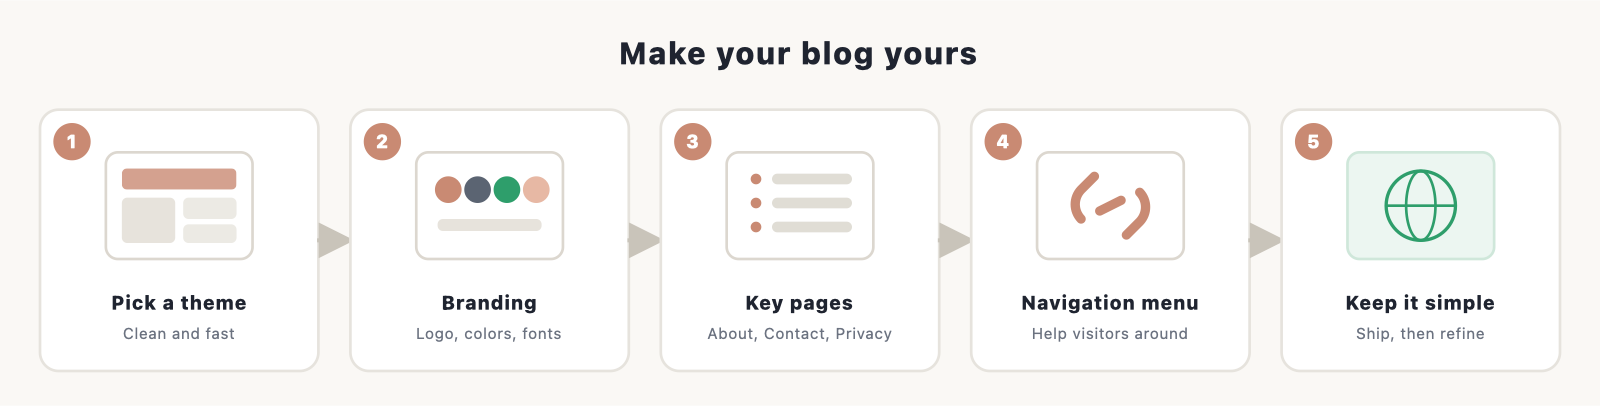
Pick a theme. Under Appearance, Themes, browse the free options or add a new one. Choose something clean and fast that suits your niche; you can change it later. Modern WordPress uses the block editor and, with many themes, full-site editing, so you can adjust layouts visually.
Add your branding. Use the customizer (Appearance, then Customize or Editor) to set your logo, colors, and fonts to match your blog name. Need assets? Our logo generators and color scheme guides help, and AI image tools can generate a logo or header in minutes.
Set up your key pages and menu. Create a few essential pages: an About page (this matters more than ever, because it shows the real person behind the blog, which both readers and Google’s people-first guidelines reward), a Contact page, and a Privacy Policy. Then build a simple navigation menu under Appearance, Menus so visitors can find their way around.
Keep the design simple at the start. A clean, fast blog beats a fancy, cluttered one every time, and you can always refine it as you grow. For more, see our guide to customizing WordPress.
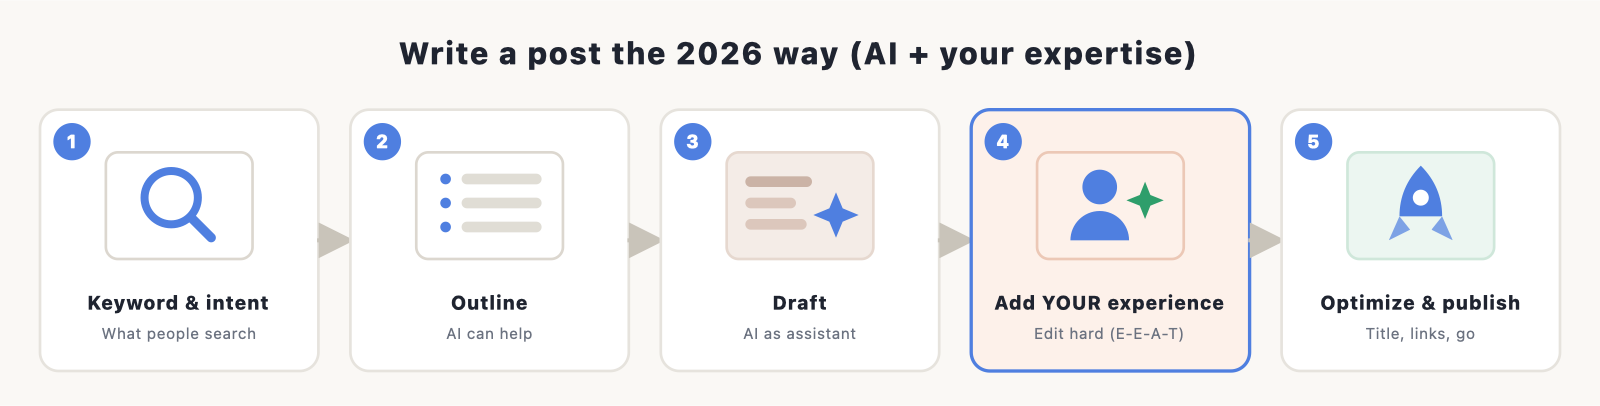
Step 6: Write your first post, the 2026 way
Your blog is live. Now for the part that actually matters: the writing. This is also where using AI well (and avoiding the trap most people fall into) makes or breaks you in 2026.
1. Start with a keyword and search intent. Pick a specific question or topic your audience searches for. Use a keyword tool (Ahrefs, Semrush, or free options) to find phrases with real demand and manageable competition. Just as important, look at what already ranks and what the AI Overview says, then ask how you can answer better or from real experience.
2. Outline before you write. A clear structure (a strong title, logical headings, a promise the post delivers on) makes everything easier. AI is useful here for generating an outline you can shape.
3. Draft it. Write the post in a natural, helpful voice. You can use AI to get a first draft or get unstuck, but treat it as a junior assistant, not the author.
4. Add your experience, then edit hard. This is the step that protects you in 2026. Google does not penalize content for being AI-assisted; John Mueller confirmed in late 2025 that the systems care whether content is helpful and accurate, not how it was made. What gets crushed is unedited, generic AI output published at scale (Google calls it “scaled content abuse,” and sites doing it have seen traffic fall 50% to 80%). So inject what AI can’t: your first-hand experience, specific examples, original screenshots or data, a real opinion, and your actual voice. Fact-check everything. This is also what earns the experience and expertise signals (E-E-A-T) that Google’s people-first guidelines reward, and it’s what makes AI search engines want to quote you.
5. Optimize and publish. Add your keyword naturally to the title, headings, and intro. Write a compelling meta description with your SEO plugin. Add at least one image with descriptive alt text. Link to your other relevant posts. Then hit publish. Our how to make a website guide and SEO guides can help you tighten the process.
A realistic 2026 mindset: write fewer, deeper, useful posts rather than churning out thin ones. Quality and real expertise are what survive AI search and earn trust.
How to come up with blog post ideas
Running out of things to write is the most common reason new blogs stall. You won’t, if you build a simple system for finding ideas:
- Answer real questions. The best posts solve a specific problem someone actually has. Note the questions people ask you, search “how to” and “best” phrases in your niche, and check the “People also ask” boxes on Google.
- Build topic clusters. Instead of random posts, pick a core subject and write a cluster of related articles around it, all linking to each other. This is how you earn topical authority, which is what ranks (and gets quoted by AI engines) in 2026.
- Mine communities. Reddit threads, niche forums, Facebook groups, and Quora are full of the exact wording real people use. These spaces have grown as readers seek human answers, and they’re a goldmine for post ideas and for understanding intent.
- Watch keyword tools and competitors. A keyword tool surfaces phrases with demand; a quick look at what’s already ranking shows gaps you can fill better or from real experience.
- Use AI to expand, not invent. Give an AI tool your niche and a seed idea and ask for twenty angles or a content-cluster map. Then pick the ones you can write with genuine authority.
Keep a running list (a simple note or spreadsheet) so you’re never staring at a blank page. A small backlog of ideas is what keeps a blog alive past month three.
How to promote your blog
Publishing isn’t enough, especially now that you can’t rely on search alone. Build traffic from several places:
- Search and AI engines. Keep doing solid SEO, and aim to be the source AI Overviews cite (clear answers, original data, real expertise). Being quoted in AI results still drives clicks.
- Email list. Start collecting emails from day one. It’s the one audience you fully own and the most reliable traffic you’ll ever have. Use a free tier of an email tool and add a simple signup form.
- A few focused channels, not all of them. Pinterest still drives real blog traffic in many niches; communities like Reddit and niche forums have grown as people seek human answers; and one social platform where your audience already hangs out beats spreading yourself thin.
- Repurpose what you write. Turn one post into a few social posts, an email, and a short video. AI is handy for this kind of reformatting.
- Engage and collaborate. Reply to comments, guest post on related blogs, and build relationships in your niche. Real connections still compound.
Pick two or three channels and do them consistently rather than chasing every platform.
How to make money from your blog
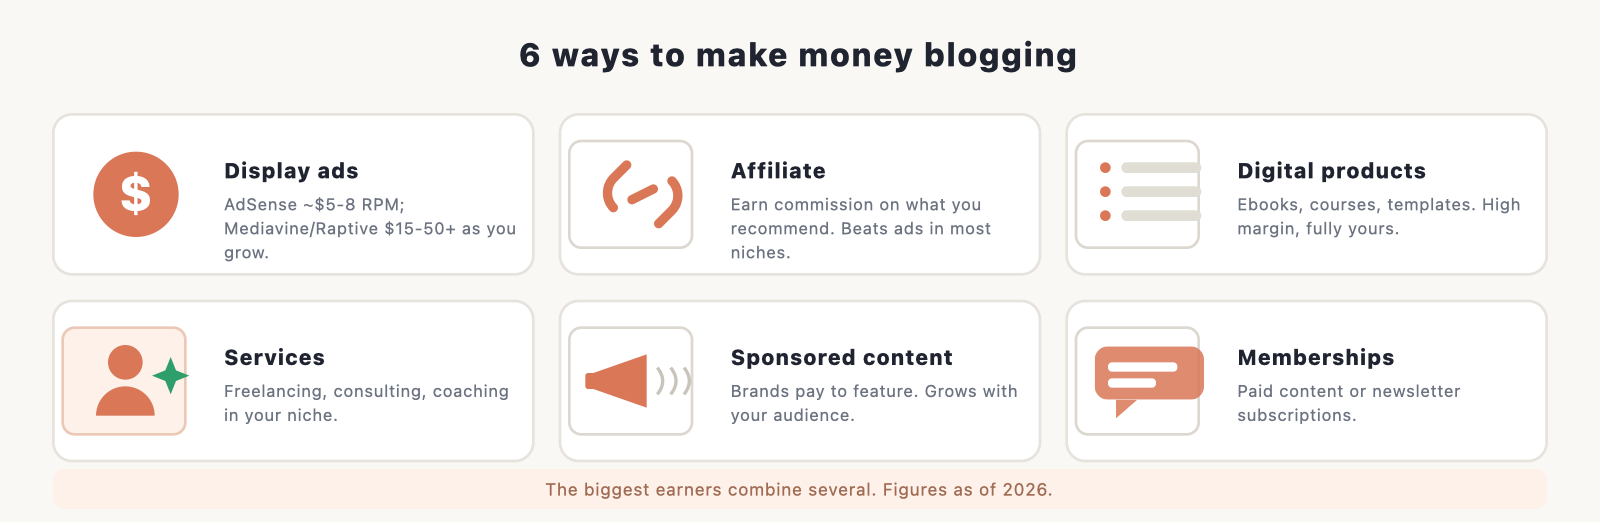
Most blogs make money through a mix of methods rather than just one. The biggest earners combine several. Here are the main ones, updated for 2026.
- Display ads. You earn from ads on your pages. Google AdSense has no traffic minimum but pays modestly (roughly $5 to $8 per thousand visits). As you grow, premium networks pay far more: Mediavine‘s entry “Journey” tier now starts at around 1,000 monthly sessions, and Raptive accepts blogs at about 25,000 monthly pageviews, with RPMs commonly in the $15 to $50+ range depending on your niche (food and finance pay highest). Ads suit content-heavy blogs with steady traffic.
- Affiliate marketing. You recommend products and earn a commission on sales. In most niches this out-earns display ads, and it works at lower traffic. Be useful, recommend things you’d actually use, and disclose your links. (Note: some programs, including Amazon’s, trimmed commissions recently, so don’t rely on a single one.)
- Digital products. Ebooks, courses, templates, and printables are high-margin and fully yours. Often the most profitable path once you have an audience that trusts you.
- Services. Use the blog to land freelancing, consulting, coaching, or done-for-you work in your niche. The fastest route to real income for many new bloggers.
- Sponsored content. Brands pay you to feature them. This grows with your audience and authority.
- Memberships and paid newsletters. Charge for premium content or a community. Substack passed five million paid subscriptions in 2026, a sign of how well paid-content models are working for the right creators.
How much can you realistically make? It varies wildly. Plenty of blogs earn nothing, many earn pocket money, and a focused minority build full-time incomes of several thousand dollars a month or more, usually after a year or two of consistent work. The pattern among earners is almost always a combination: ads plus affiliate plus a product, rather than one stream. So start with whatever fits your traffic now (affiliate and services work at low traffic; ads pay off as you scale) and layer on more as you grow.
A quick reality check for 2026: because AI search is reducing some informational traffic, lean toward income that doesn’t depend purely on huge pageviews. Affiliate links, your own digital products, services, and an email list you can sell to are more durable than ad revenue alone. The blogs that thrive don’t just chase pageviews; they turn readers into subscribers and customers. For dozens more ideas, see our guide to ways to monetize a website.
Common mistakes new bloggers make (and how to skip them)
A few avoidable errors sink most new blogs in the first year. Sidestep these and you’re already ahead:
- Picking a niche that’s too broad. “Lifestyle” or “tech” is impossible to rank for. Go narrow enough to become the go-to source on a specific subject, then expand.
- Publishing thin, generic content (often unedited AI). This is the fastest way to get ignored by readers and filtered by Google in 2026. Every post should offer something only you can: experience, examples, a real test, an opinion.
- Relying on Google alone. With AI Overviews taking a share of clicks, a blog with no email list and no other channel is fragile. Build owned and direct traffic from the start.
- Giving up too soon. Most blogs that fail do so in the first six months, right before traction usually starts. The single biggest predictor of success is simply not quitting.
- Obsessing over design instead of writing. A clean theme and ten great posts beat a beautiful site with two. Ship, then improve.
- Trying to monetize on day one. Build trust and traffic first; the money follows an audience, not the other way around.
Frequently asked questions
Is blogging still worth it in 2026? Yes, with realistic expectations. It’s cheap and low-risk to start, and blogs with genuine expertise and a clear niche still grow and earn. But it takes time (often a year or more to meaningful income) and rewards quality over quantity far more than it used to.
How much does it cost to start a blog? Very little. Self-hosted WordPress on shared hosting runs about $3 to $10 a month, with the domain usually free for the first year. A realistic lean year-one cost is roughly $75 to $100. You can spend more on premium themes, plugins, or tools as you grow.
Can I start a blog for free? You can, on platforms like Medium or WordPress.com’s free tier, but you won’t own it, the address looks unprofessional, and monetization is limited. Free is fine for testing whether you enjoy writing; for anything serious, self-hosted WordPress is worth the few dollars a month.
Do I need to know how to code? No. WordPress, themes, and plugins let you build and run a blog visually, without code. AI tools can also help if you ever want something custom.
Should I use AI to write my blog? As an assistant, yes; as a replacement for you, no. Use AI to brainstorm, outline, and draft, then add your own experience, examples, and voice and fact-check everything. Google doesn’t penalize AI-assisted content, but it does crush generic, unedited content published at scale.
What’s the best blogging platform in 2026? For a blog you own and want to monetize, self-hosted WordPress. If you want speed, an AI builder (like Hostinger AI or 10Web) sets up WordPress for you. If you’re newsletter-first, look at Substack, beehiiv, or Ghost.
Will AI search kill my blog traffic? It’s changing it, not ending it. AI Overviews answer more questions without a click, so plan to earn traffic from email, a couple of social or community channels, and by being the trustworthy, experience-led source that AI engines quote. Thin, generic content is what’s most at risk.
How often should I publish? Consistency beats frequency. One useful, well-researched post a week is better than five thin ones. Publish a quality post on a schedule you can actually keep.
How long until I make money? Most bloggers take six to twelve months to earn their first income and a year or two of steady work before it’s meaningful. Treat the early months as building, not earning.
How do I find a profitable niche? Look for the overlap of three things: something you know or care about, something people actively search for (check a keyword tool), and something with money around it (products, services, or ads in the space). Food, personal finance, and lifestyle tend to earn the most per visitor but are crowded; a narrower niche earns less but is far easier to rank in. Authority beats breadth, so go deep on one thing.
WordPress.com or WordPress.org, what’s the difference? WordPress.org is the free, self-hosted software you install on your own hosting (the route in this guide), and it gives you full ownership and unlimited monetization. WordPress.com is a hosted service run by the same software’s parent company; its cheaper plans are more limited, and you need a higher plan for full plugin freedom. For a blog you’ll grow and monetize, self-hosted WordPress.org is the one to choose.
How many posts do I need before I get traffic? There’s no magic number, but most blogs need a body of useful content (think 15 to 30 solid posts in a focused topic cluster) before search traffic builds. Consistency over months matters more than any single post.
What legal pages does my blog need? At a minimum, a Privacy Policy (especially if you use ads, analytics, or collect emails), and usually a basic Terms page and an affiliate or advertising disclosure if you earn from links. Free generators can create these in minutes.
How do I get traffic if I’m not ranking on Google yet? Don’t wait on search. Build an email list from day one, pick one or two channels where your audience already is (Pinterest and niche communities work well for blogs), and repurpose each post into a few social pieces. Search traffic compounds slowly in the background while these bring early readers.
Research and sources
The 2026 figures in this guide come from primary research: Pew Research Center on AI summaries and clicks, Ahrefs on AI Overview click-through declines, Google Search Central on people-first and AI content, W3Techs on CMS market share, and Mediavine on ad-network requirements. Figures are accurate as of 2026.
Start your blog today
You don’t need to be a tech expert, a famous writer, or an SEO wizard to start a blog in 2026. You need a clear niche, a place you own to publish, and the willingness to be useful and stick with it. The tools (including AI) have never made the building part easier; the winning ingredient is still you.
So pick your topic, get your blog online with WordPress and Bluehost, and publish that first post. The best time to start was years ago. The second best time is today.